What is FortyHives Projects?
In today's fast-paced and dynamic business environment, effective project management is the
cornerstone of success. Projects can be complex, involving numerous tasks, team members, and
deadlines, making it essential to have a powerful and user-friendly tool to streamline the
process. This is where FortyHives Projects comes into play.
Minimum System Requirements
Before you get started, please ensure that your server meets the following minimum system
requirements:
Server Requirements
- Web Server: Apache or Nginx
- Operating System: FortyHives Projects is compatible with a wide range of operating systems,
including but not limited to Linux, macOS, and Windows. You can use FortyHives Projects on your
preferred operating system without any compatibility concerns.
- Server Resources:
- CPU: At least 1-2 CPU cores
- RAM: 1 GB of RAM
- Disk Space: 10-20 GB of disk space
PHP Version
FortyHives Projects requires PHP version 8.1 or higher.
MySQL Version
FortyHives Projects is compatible with MySQL version 5.7 or higher.
Get Support
If you need assistance or have any questions, our support team is here to help.
You can reach us for support through the following channels:
We're available to assist you with any inquiries or issues you may encounter while using
FortyHives Projects.
Key Considerations and Recommended Actions
Below are critical scenarios along with corresponding recommended actions to take if
encountered:
1. Issues with the system after an update:
In the event that you experience unexpected behavior or errors after updating the system to
the new version, we recommend following the steps below:
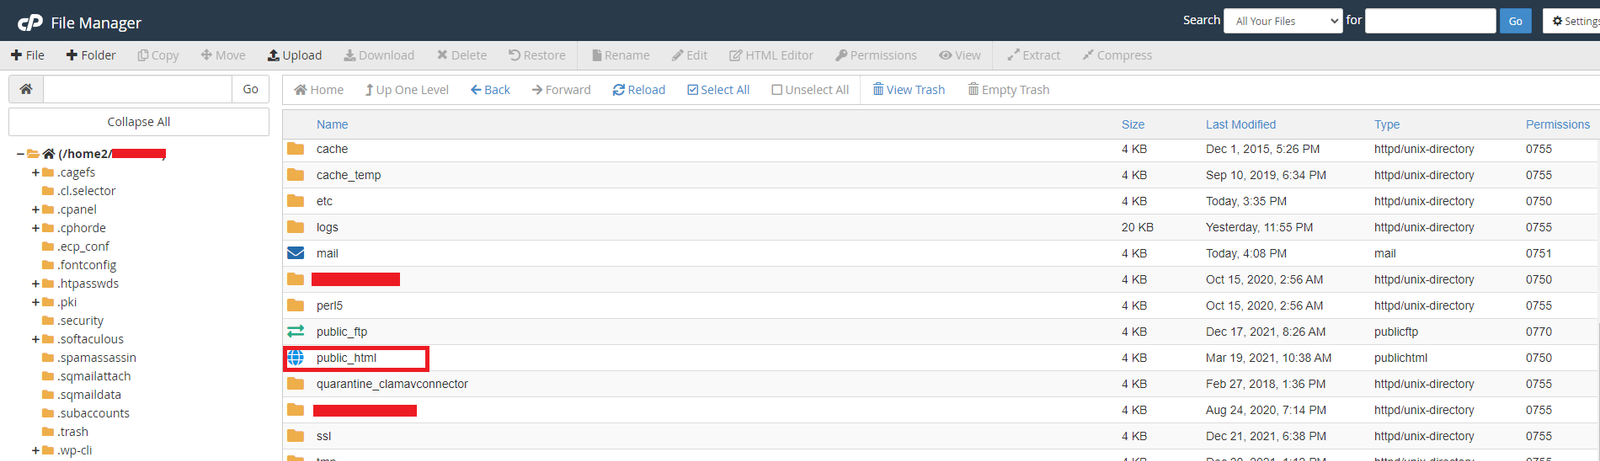
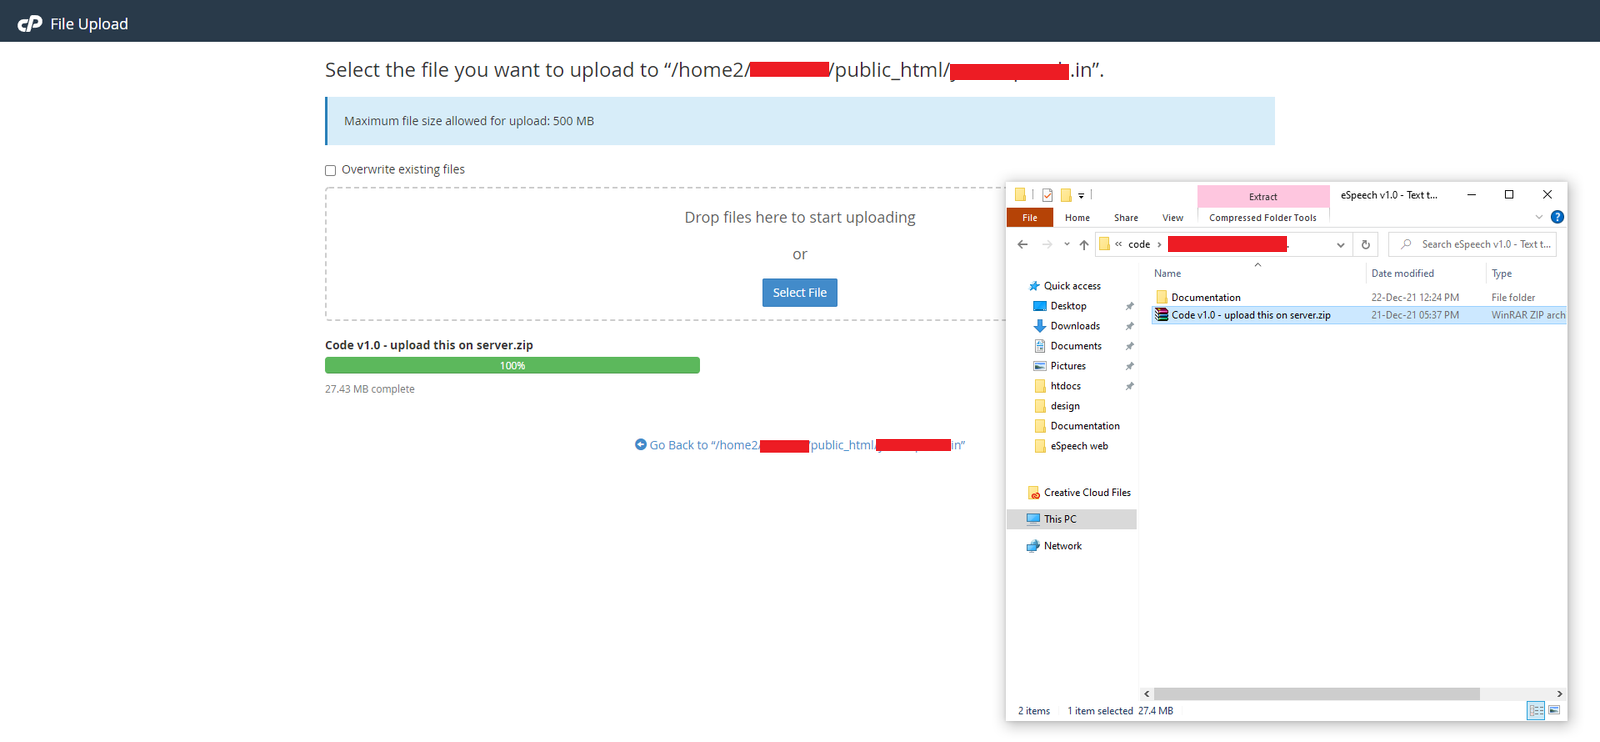
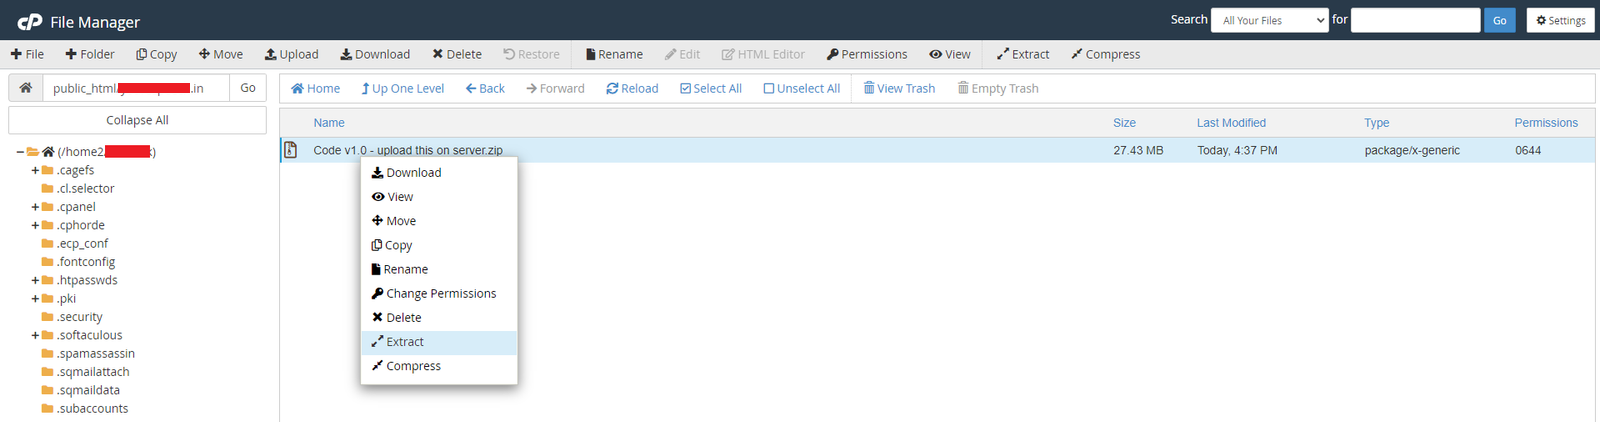
- Inside new update files, You can see zip named
Code vx.x.x - upload this on server
extrat it and copy vendor folder & composer.json and
composer.lock files from the root directory.
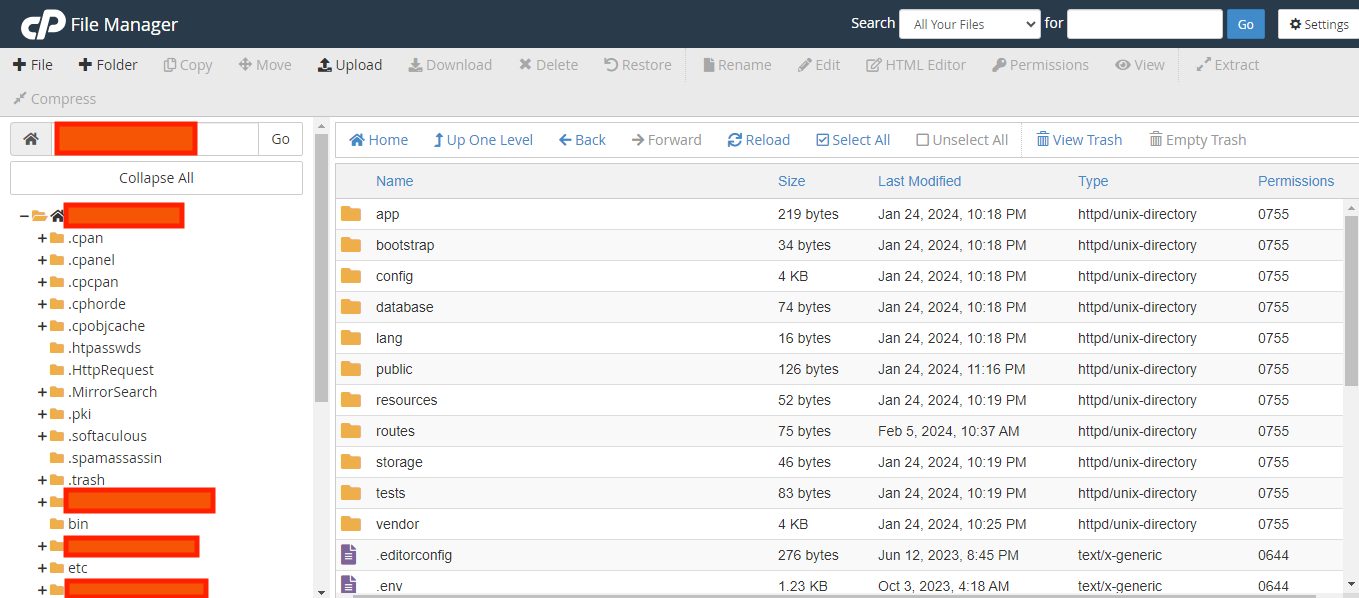
- Go to the root directory of your current project (FortyHives Projects) files, Take backup, and replace the
vendor folder & composer.json and
composer.lock files.
- Run the following command in your terminal or command prompt from root directory:
(Some cPanel providers offer built-in terminals, or you can use SSH access.)
- All done, check if the system works as expected. If not, please revert all the changes
by restoring the backup. Feel free to reach out to us for further assistance.
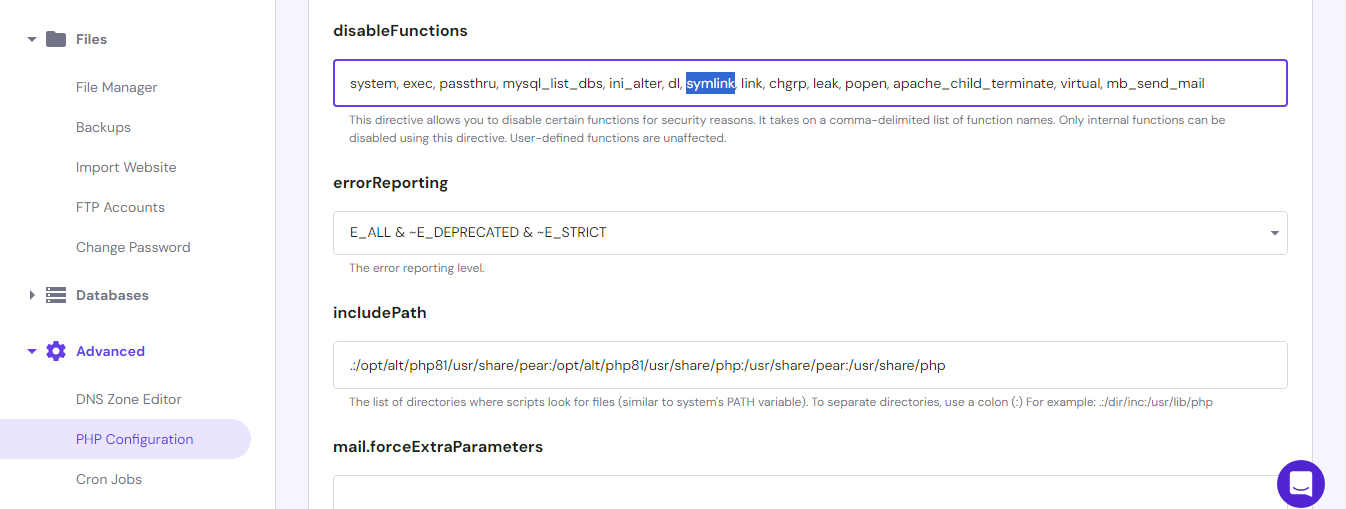
2. Images are not displayed system-wide:
If you find that images are not displaying across the system, follow these steps:
- Ensure that the
symlink function is not listed in the disabled functions,
as shown in
the image below. If it is, remove the symlink function from the list
and save the
changes.
- Visit
your.installation.url/create-symlink in a browser tab and see if the
issue resolves. If not,
- Try running the following command in your terminal or command prompt from the root
directory:
(Some cPanel providers offer built-in terminals, or you can use SSH access.)
- If the issue persists after running the command, it's possible that the
symlink
function does not exist on your server. Please contact hosting support to needful for
symlink function to be work. Feel free to reach out to us for further
assistance.
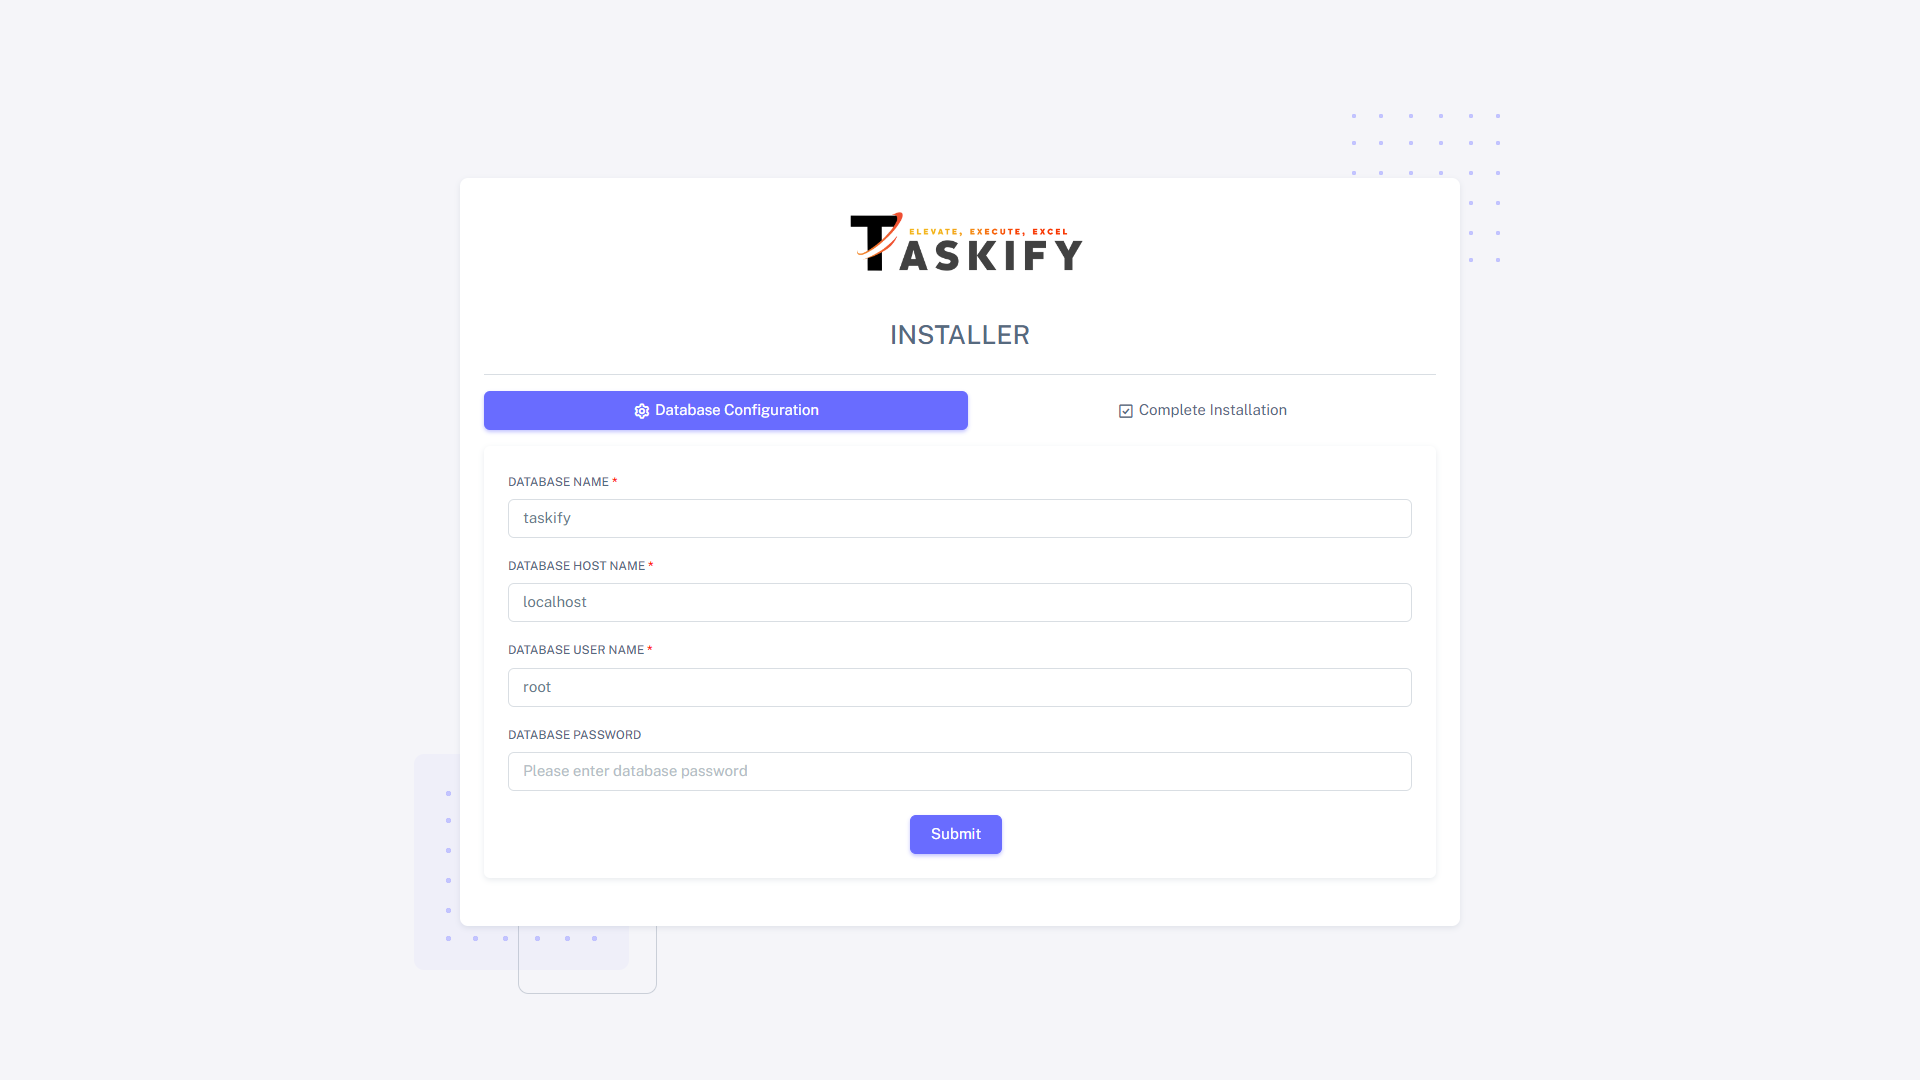
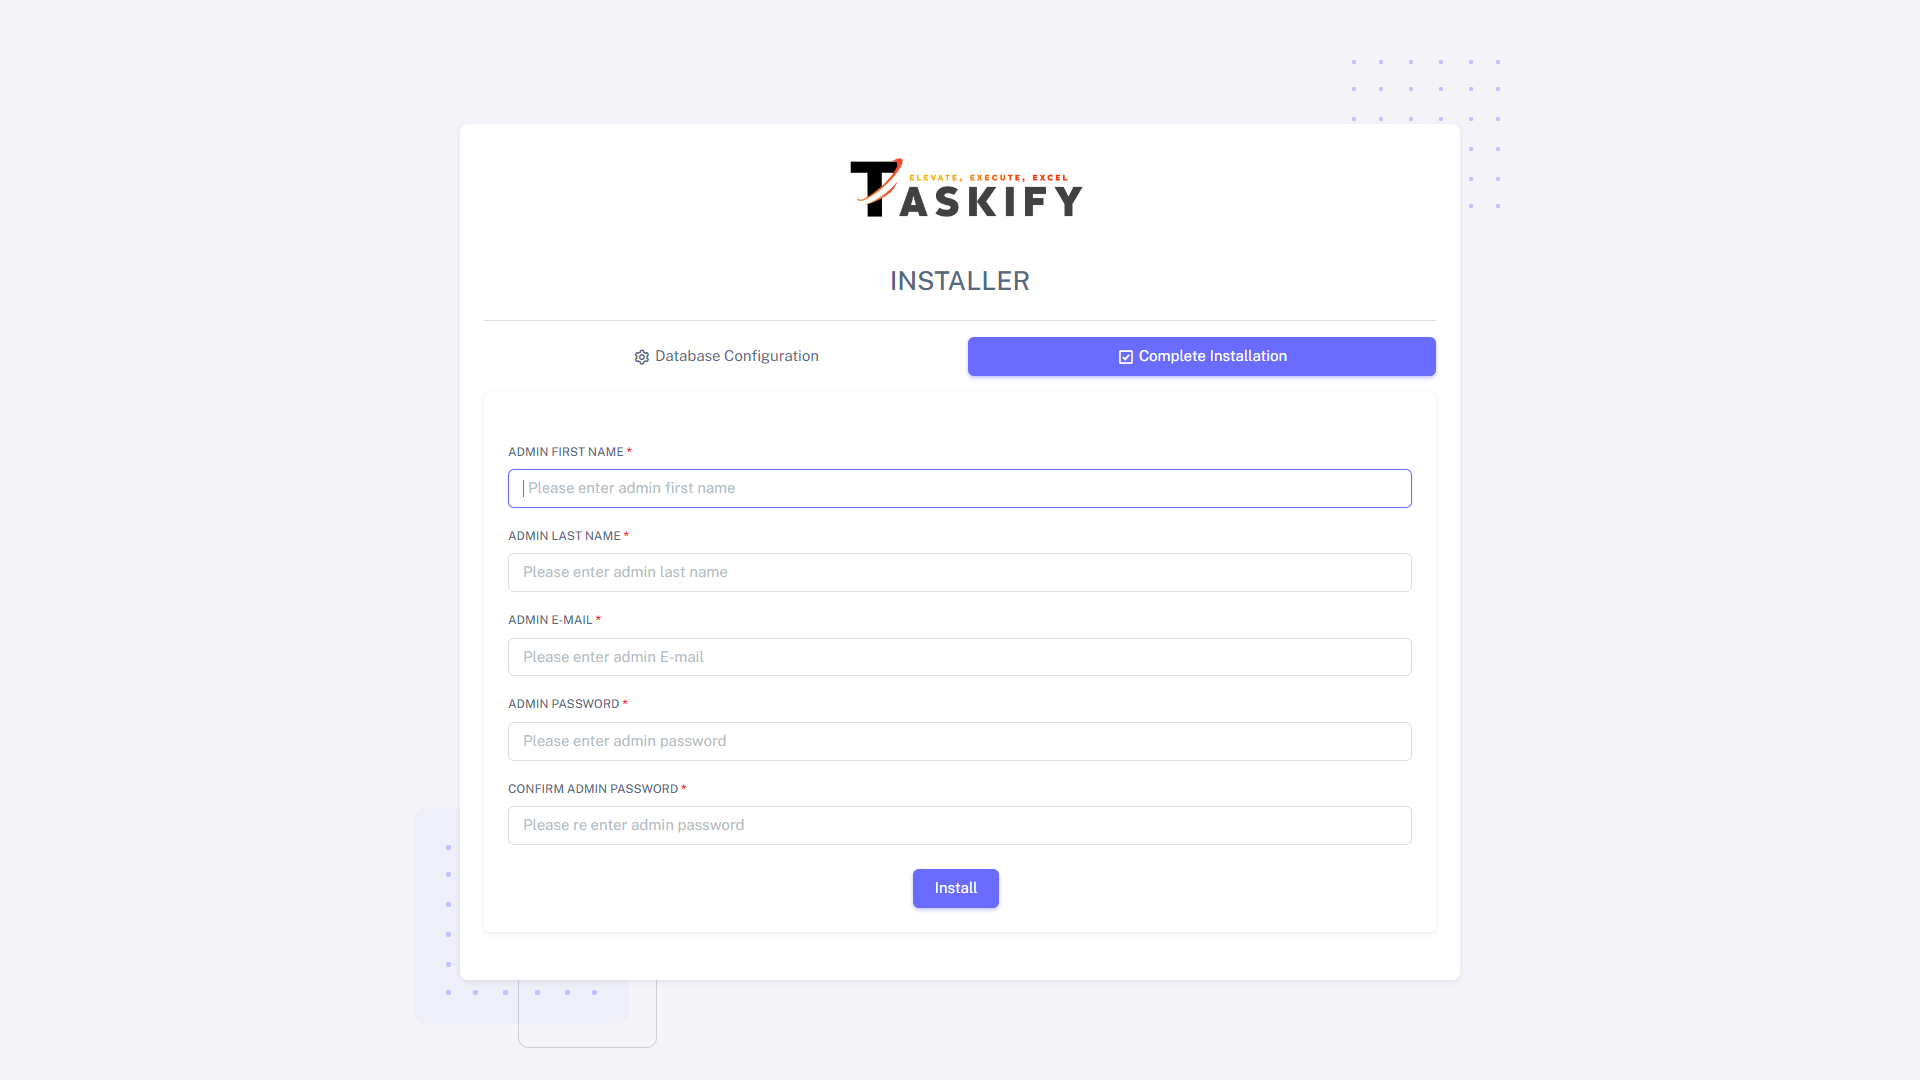
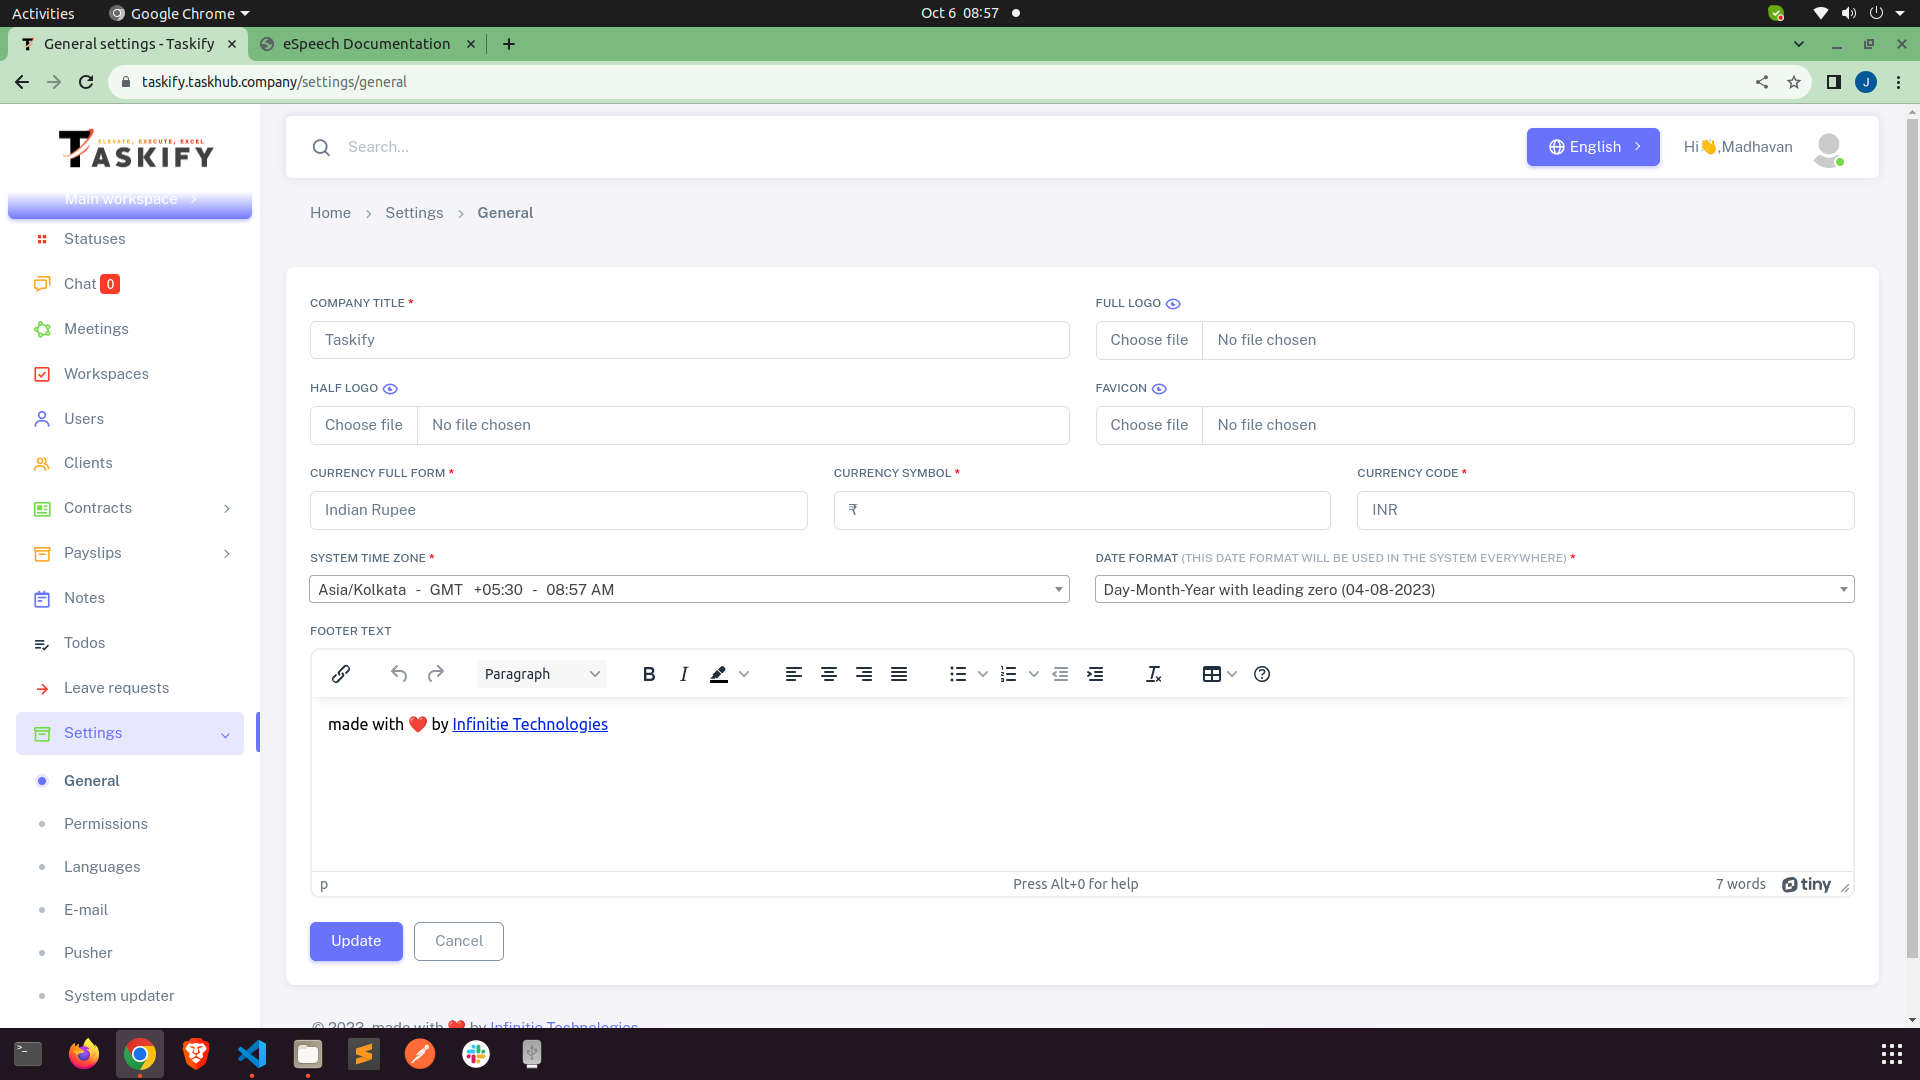
Settings
First Of all, we need to set general setting of app
Make sure to add Company Title and App URL
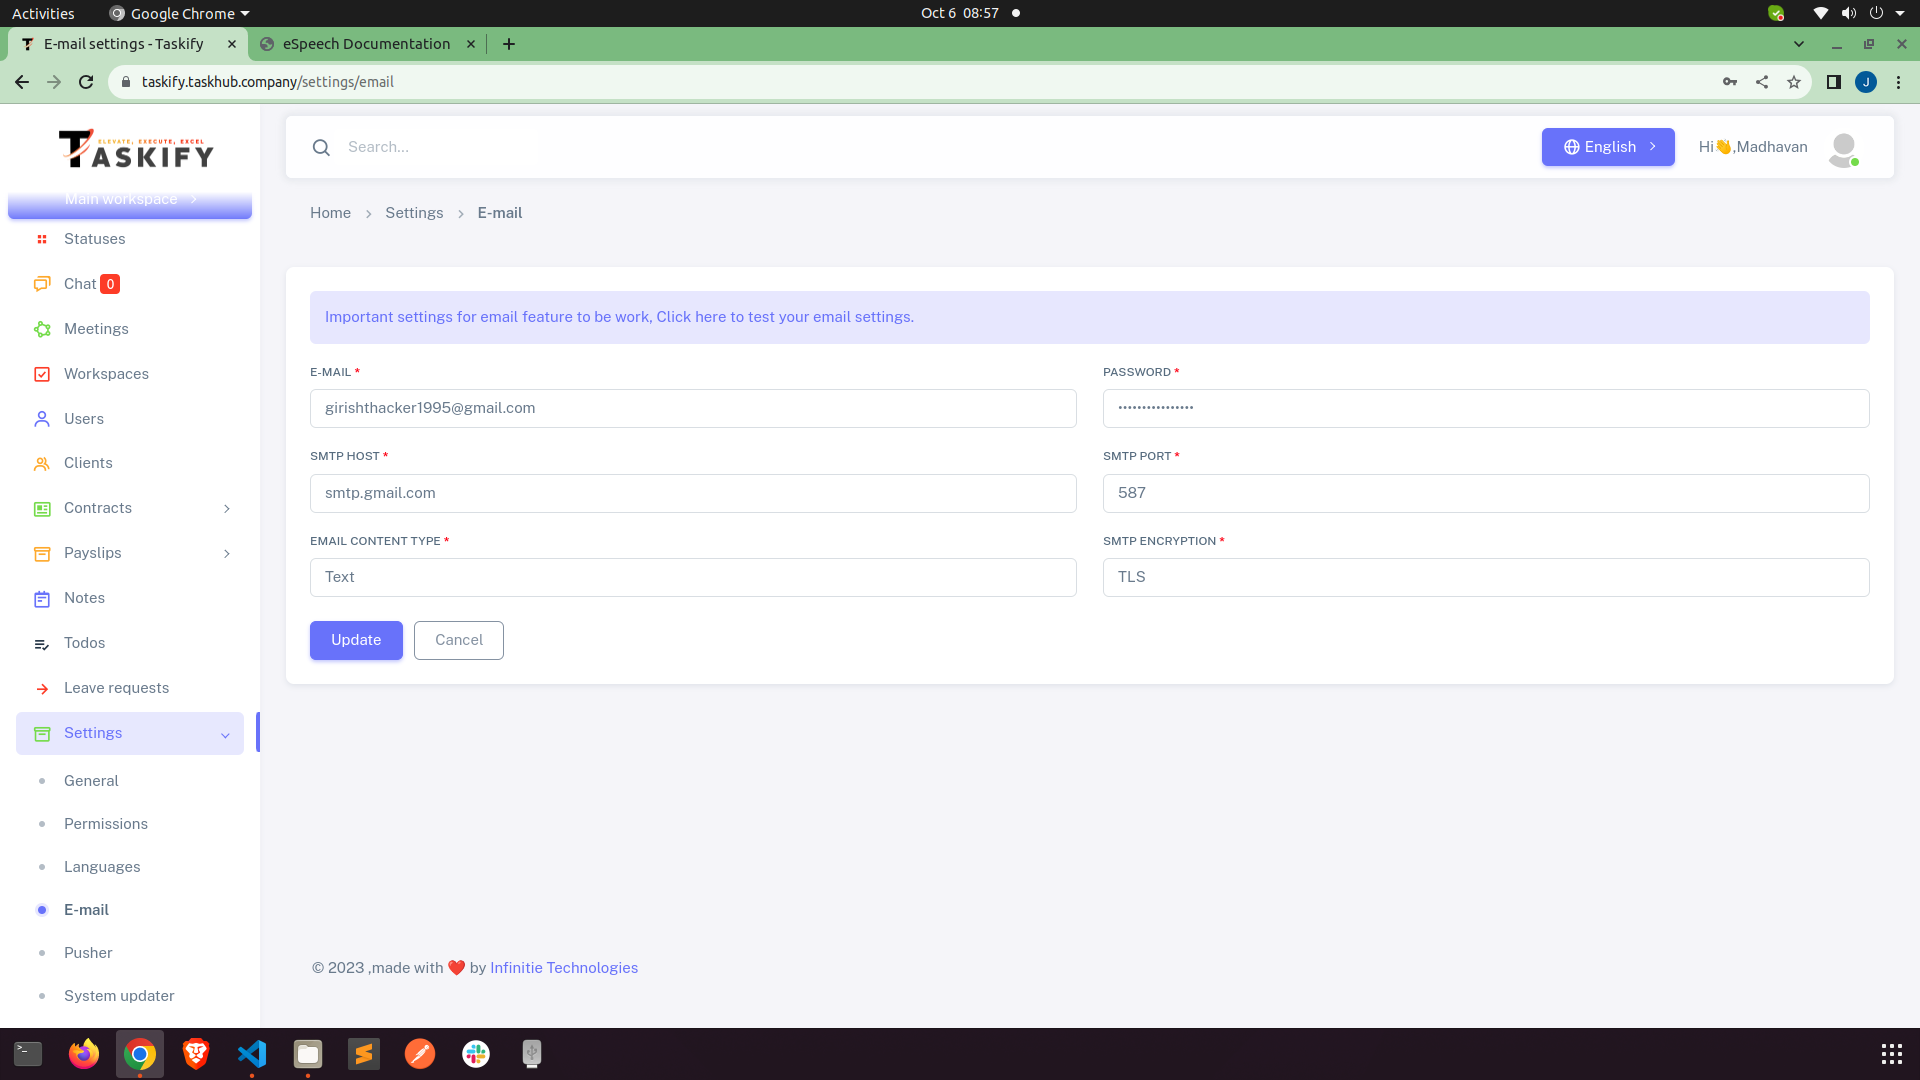
Now go to email setting. Without email setting email functionality will not work.
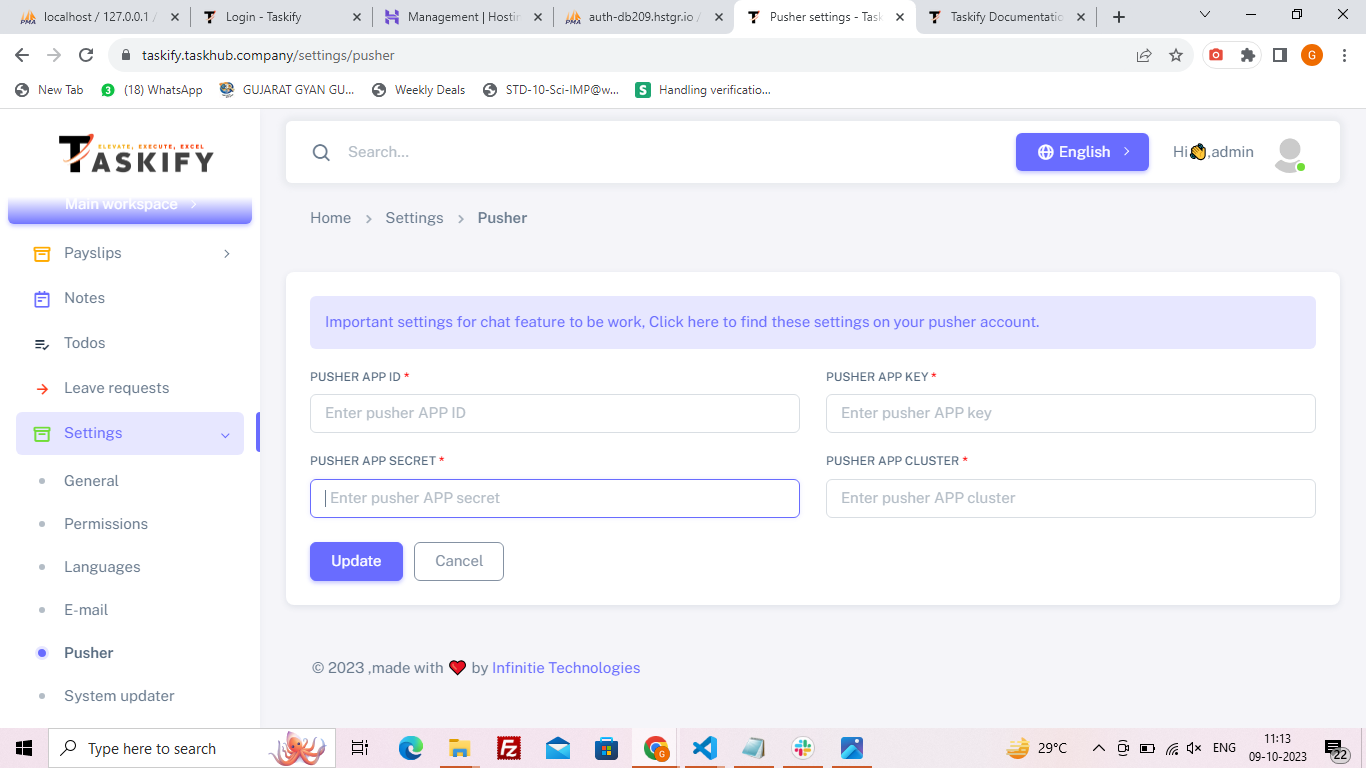
Now go to pusher setting. Without pusher setting chat functionality will not work.
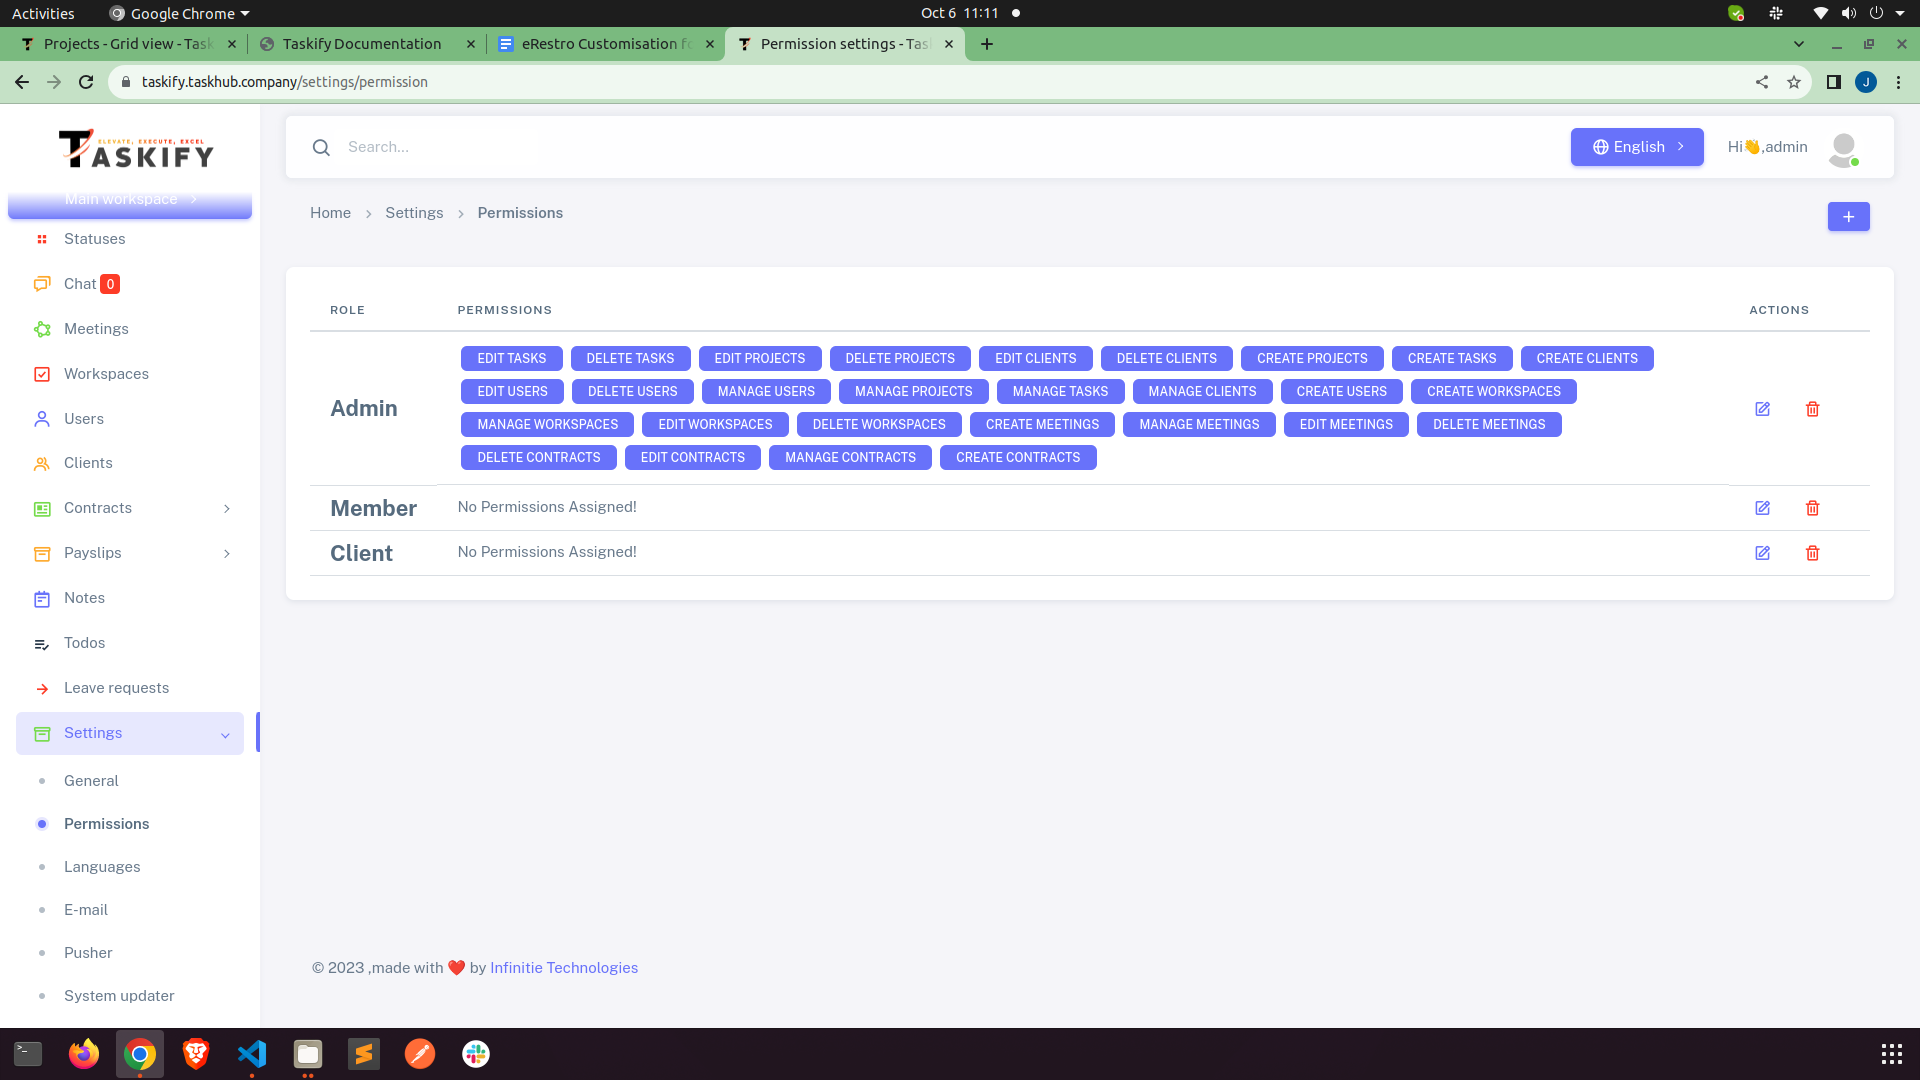
User Permission
Admin always have all the permission. Here you can set permissions for members and clients.
Auto updater
How to use auto updater to update system from current version to next version.
NOTE : Make sure you update system in sequence. Like if you have current version 1.0.0 and
you
want to update this version to 1.0.5 then you can't update it directly. You must have to
update in sequence like first update version 1.0.1 then 1.0.2 and 1.0.3 and so on.
Below simple step will update your system.
- Step 1: Download and extract the new FortyHives Projects code from Codecanyon from your downloads
section.
- Step 2: After extracting, you would see the content of the package something like this:
- /Documentation
- /Updates
- /Update from vX.X.X to vX.X.X.zip
- /Update from vX.X.X to vX.X.X.zip <-- Choose the appropriate as per
current version of your system.
- /Code - vX.X.X - upload this on server.zip
- taskify - vx.x.x - Blank SQL file
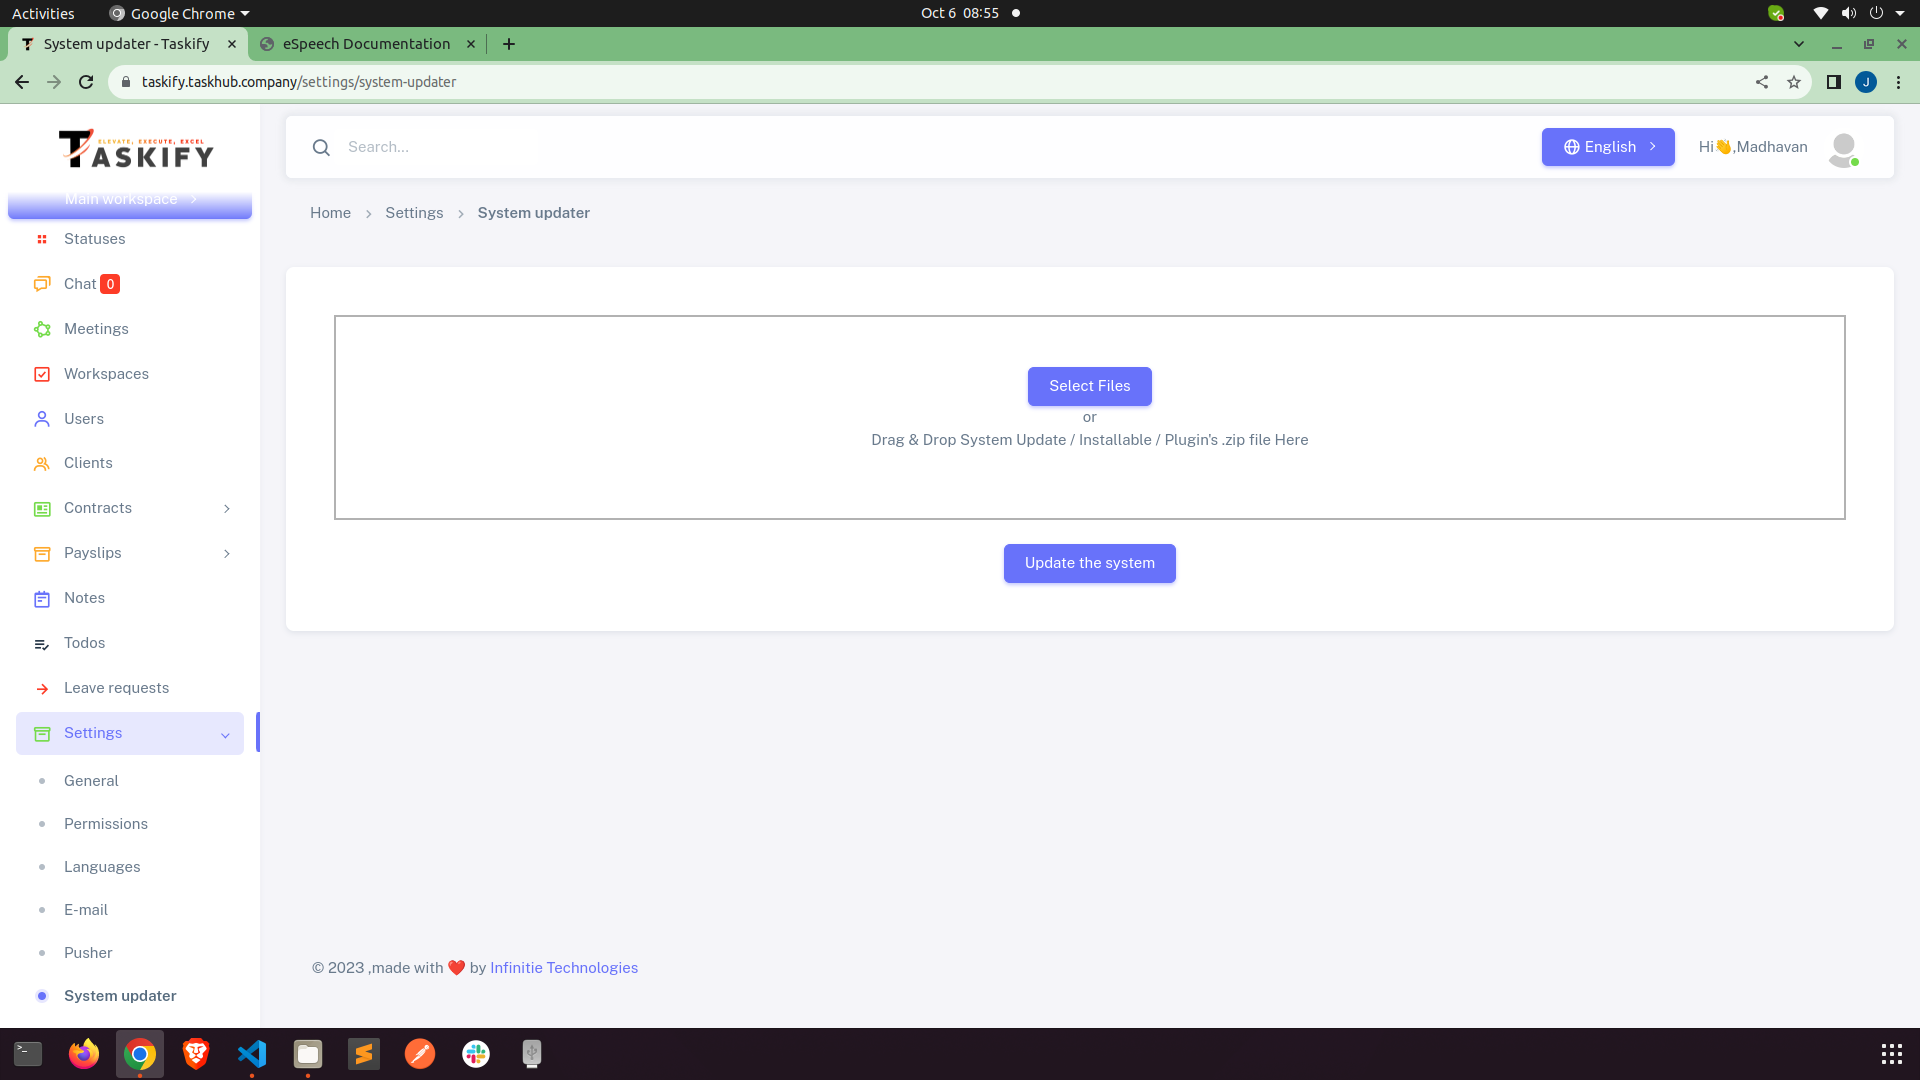
- Step 3: Open your FortyHives Projects admin panel and navigate to Settings > System Updater Page.
- Step 4 : Drag & Drop or Choose this "update from vX.X.X to vX.X.X.zip" file in the
Upload area.
- Step 5 : Click on "Update the System / Install the Plugin" button and wait for success
message. You are now having the new update installed in your existing system.
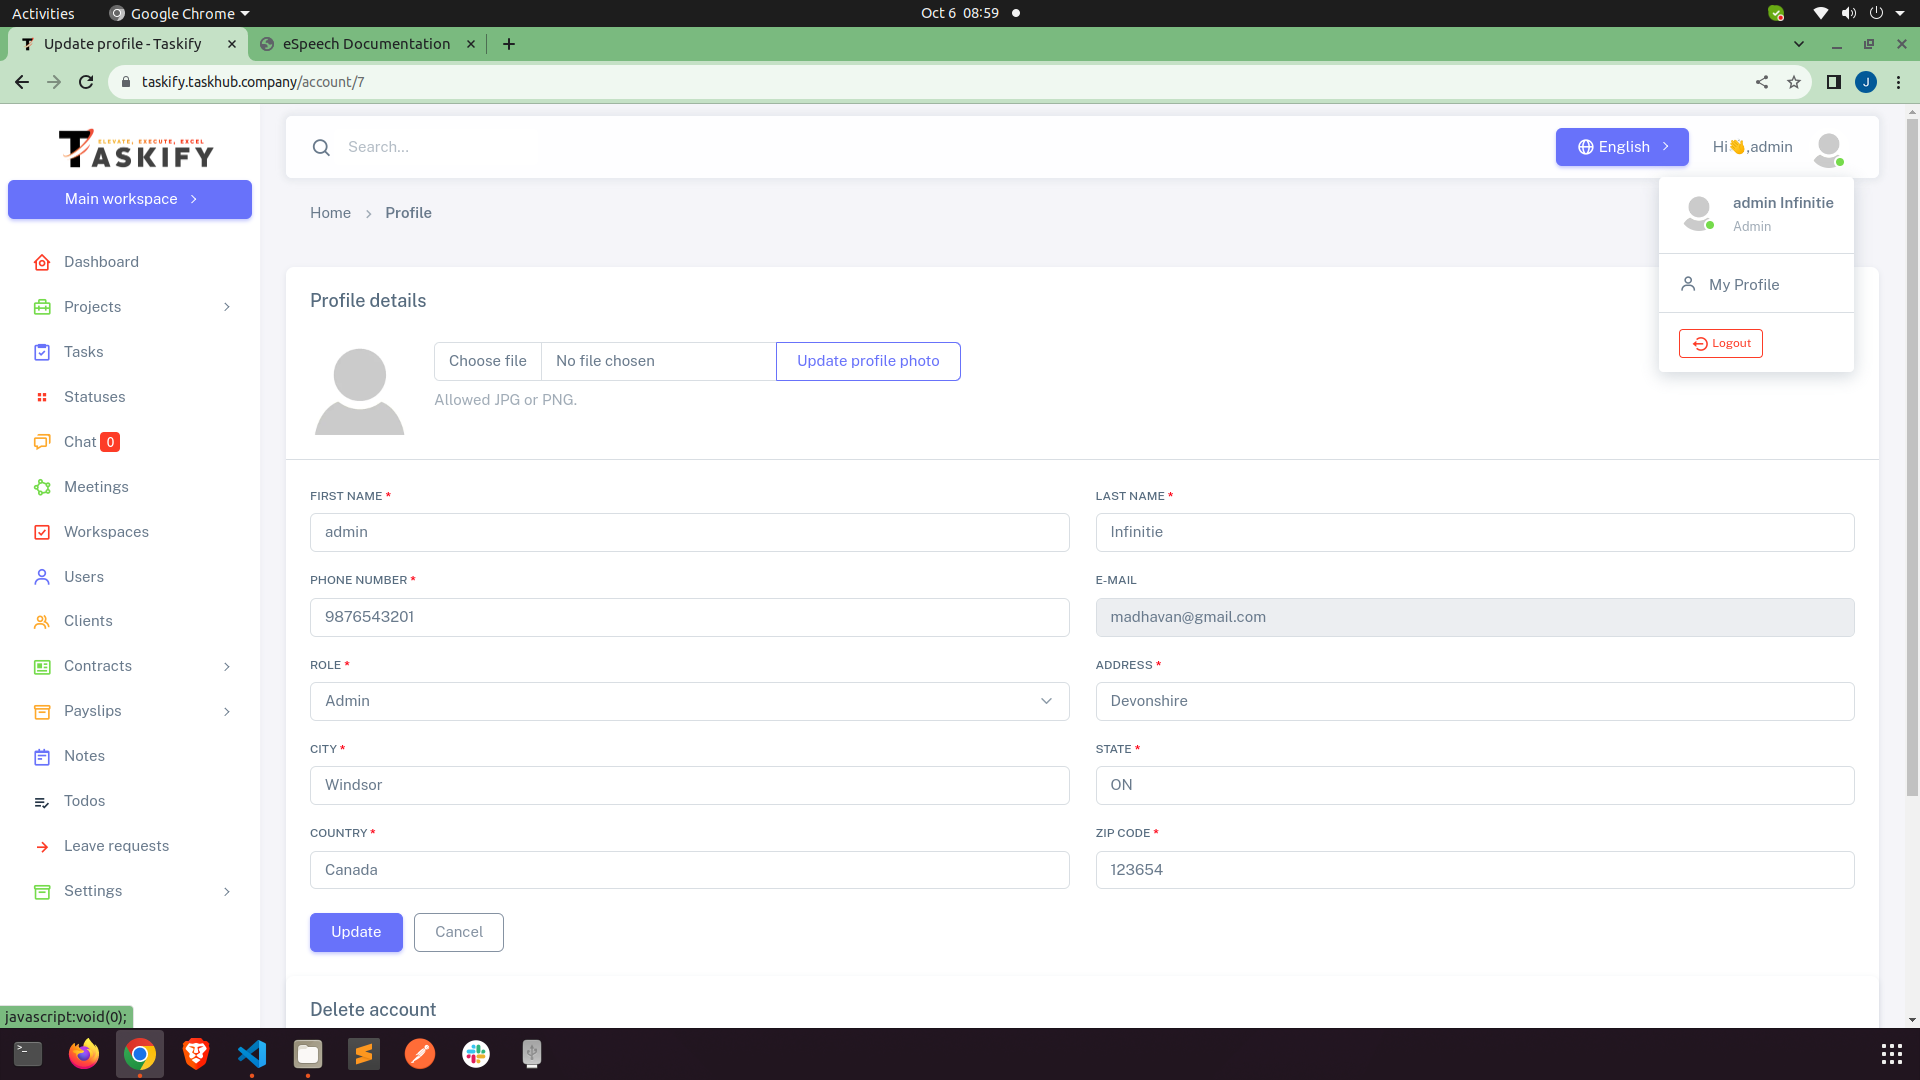
Profile
Click at top right corner on your name. Then select profile from the dropdown and update own
profile.
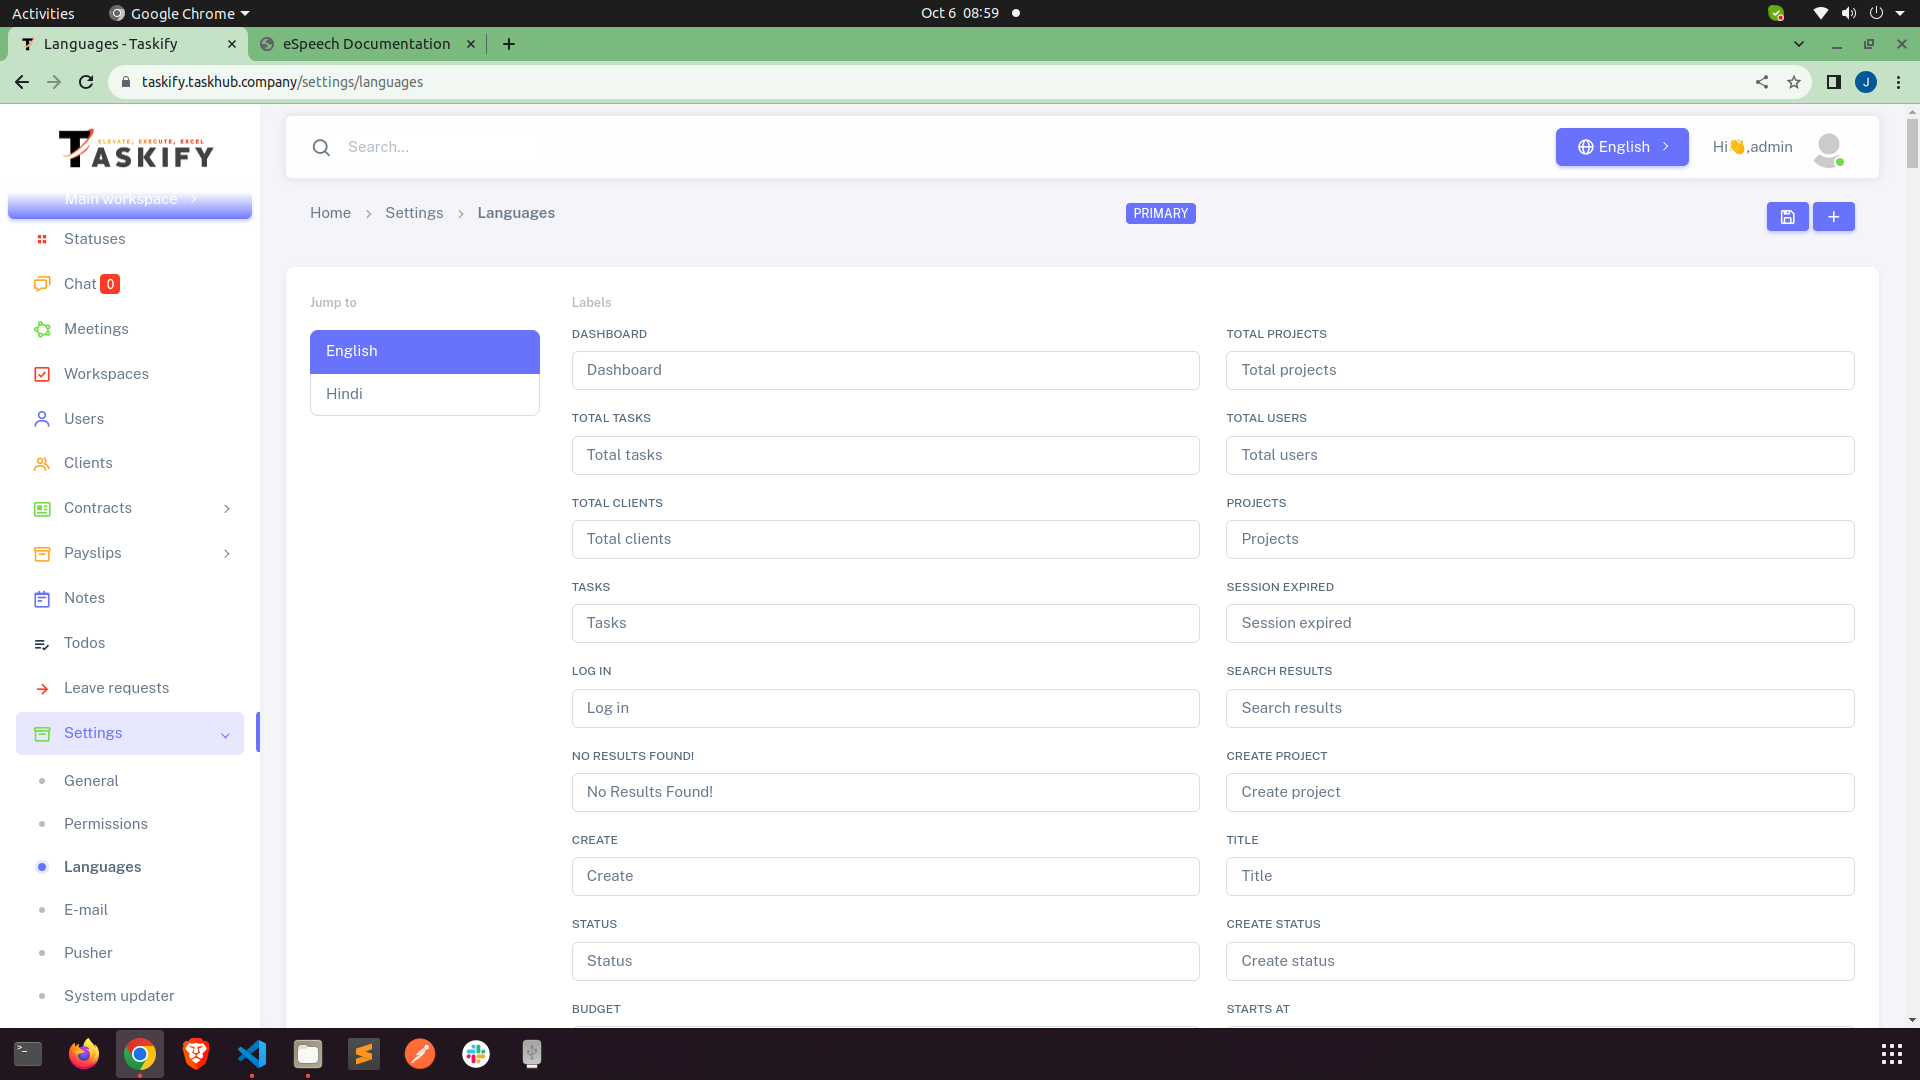
Manage Languages
Create and Manage Languages.
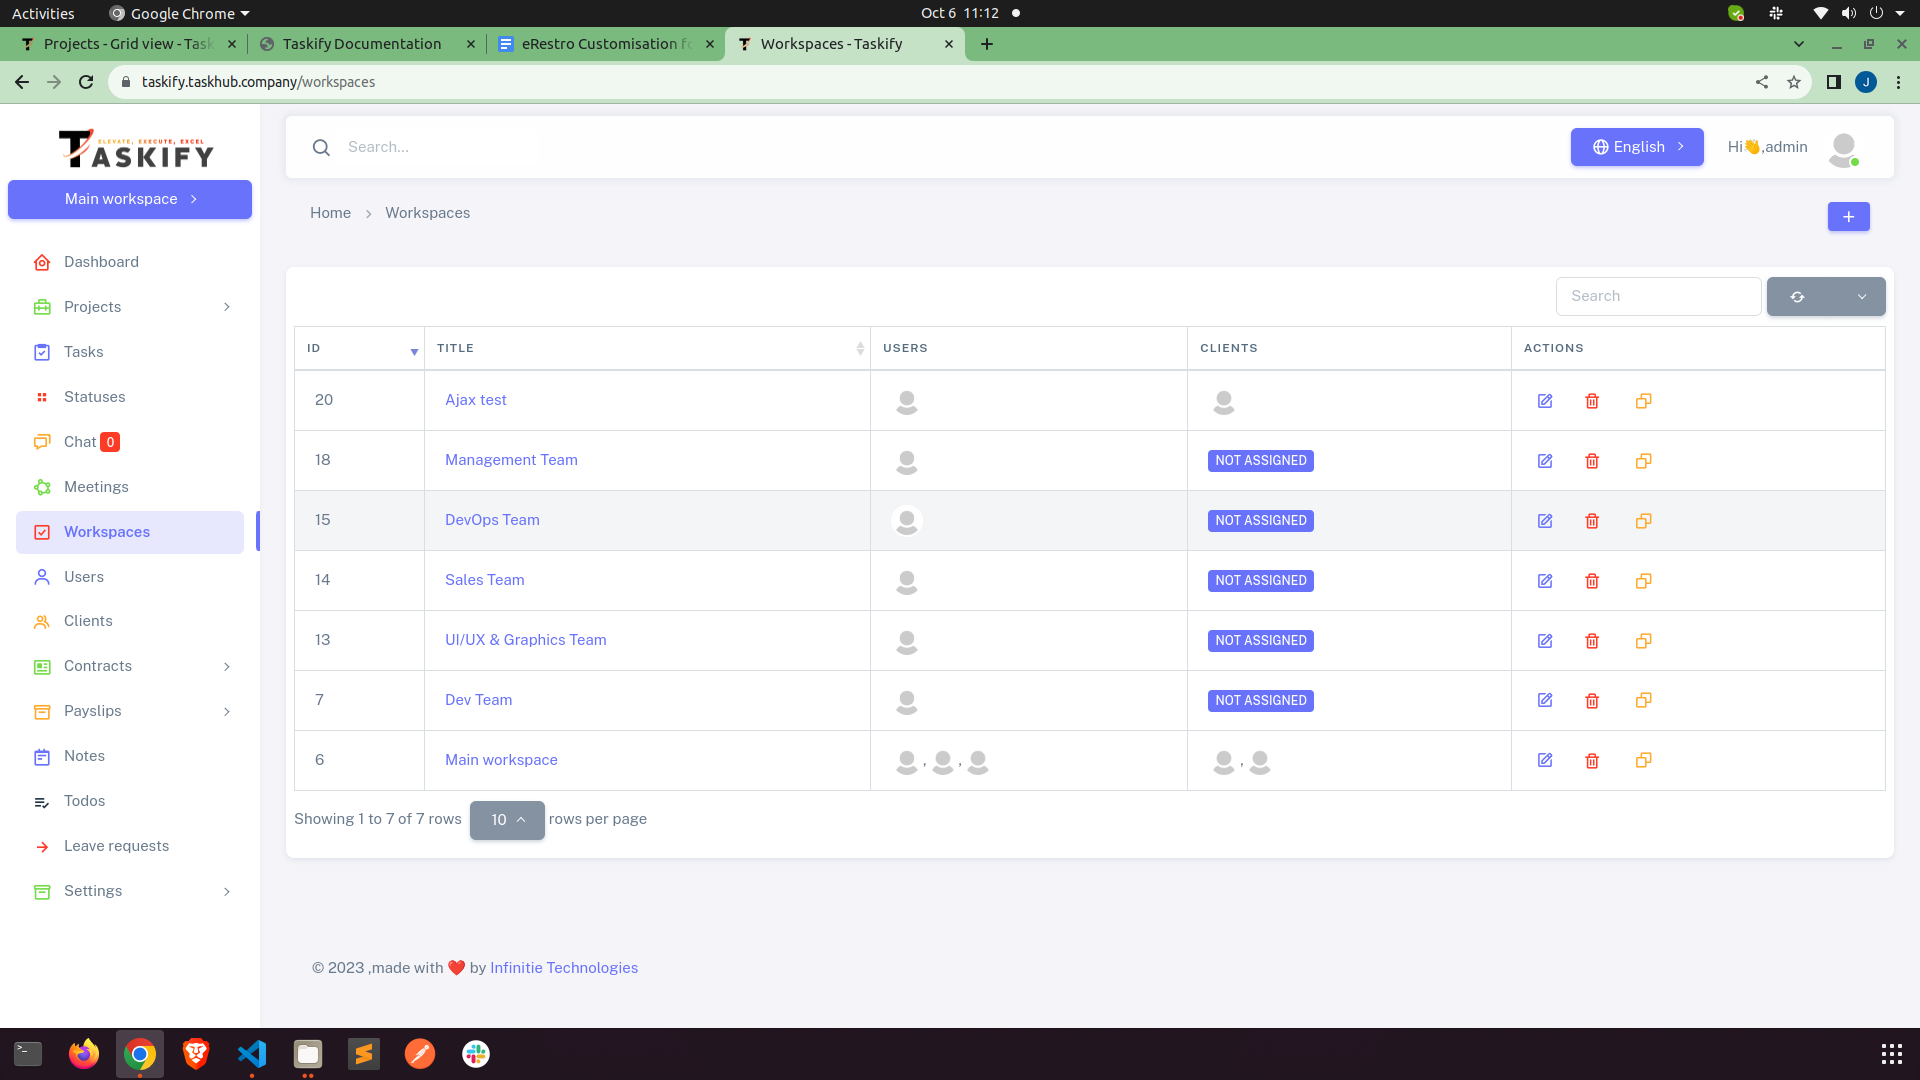
Manage Workspace
You can create new workspace from header bar and remove your self from any workspace. All
the
workspace will be listed in header bar and you can switch between them by click on them.
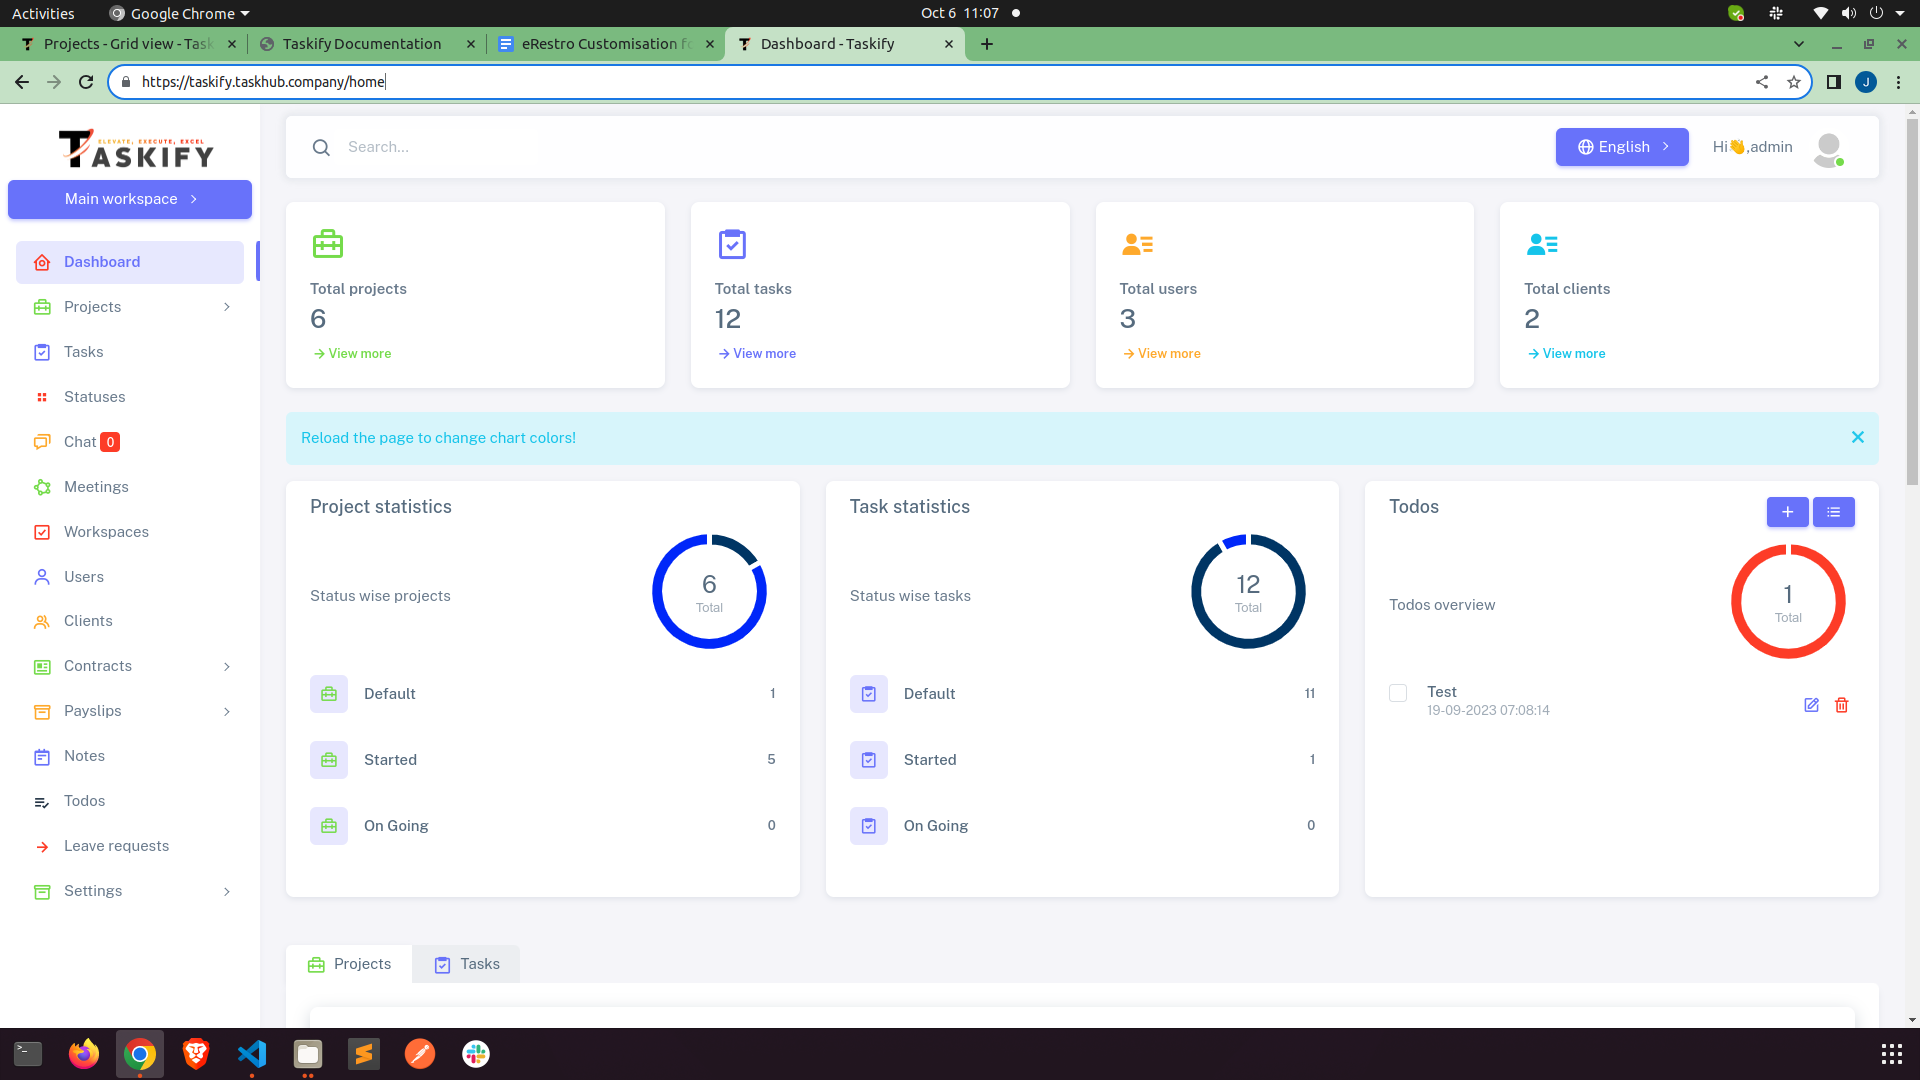
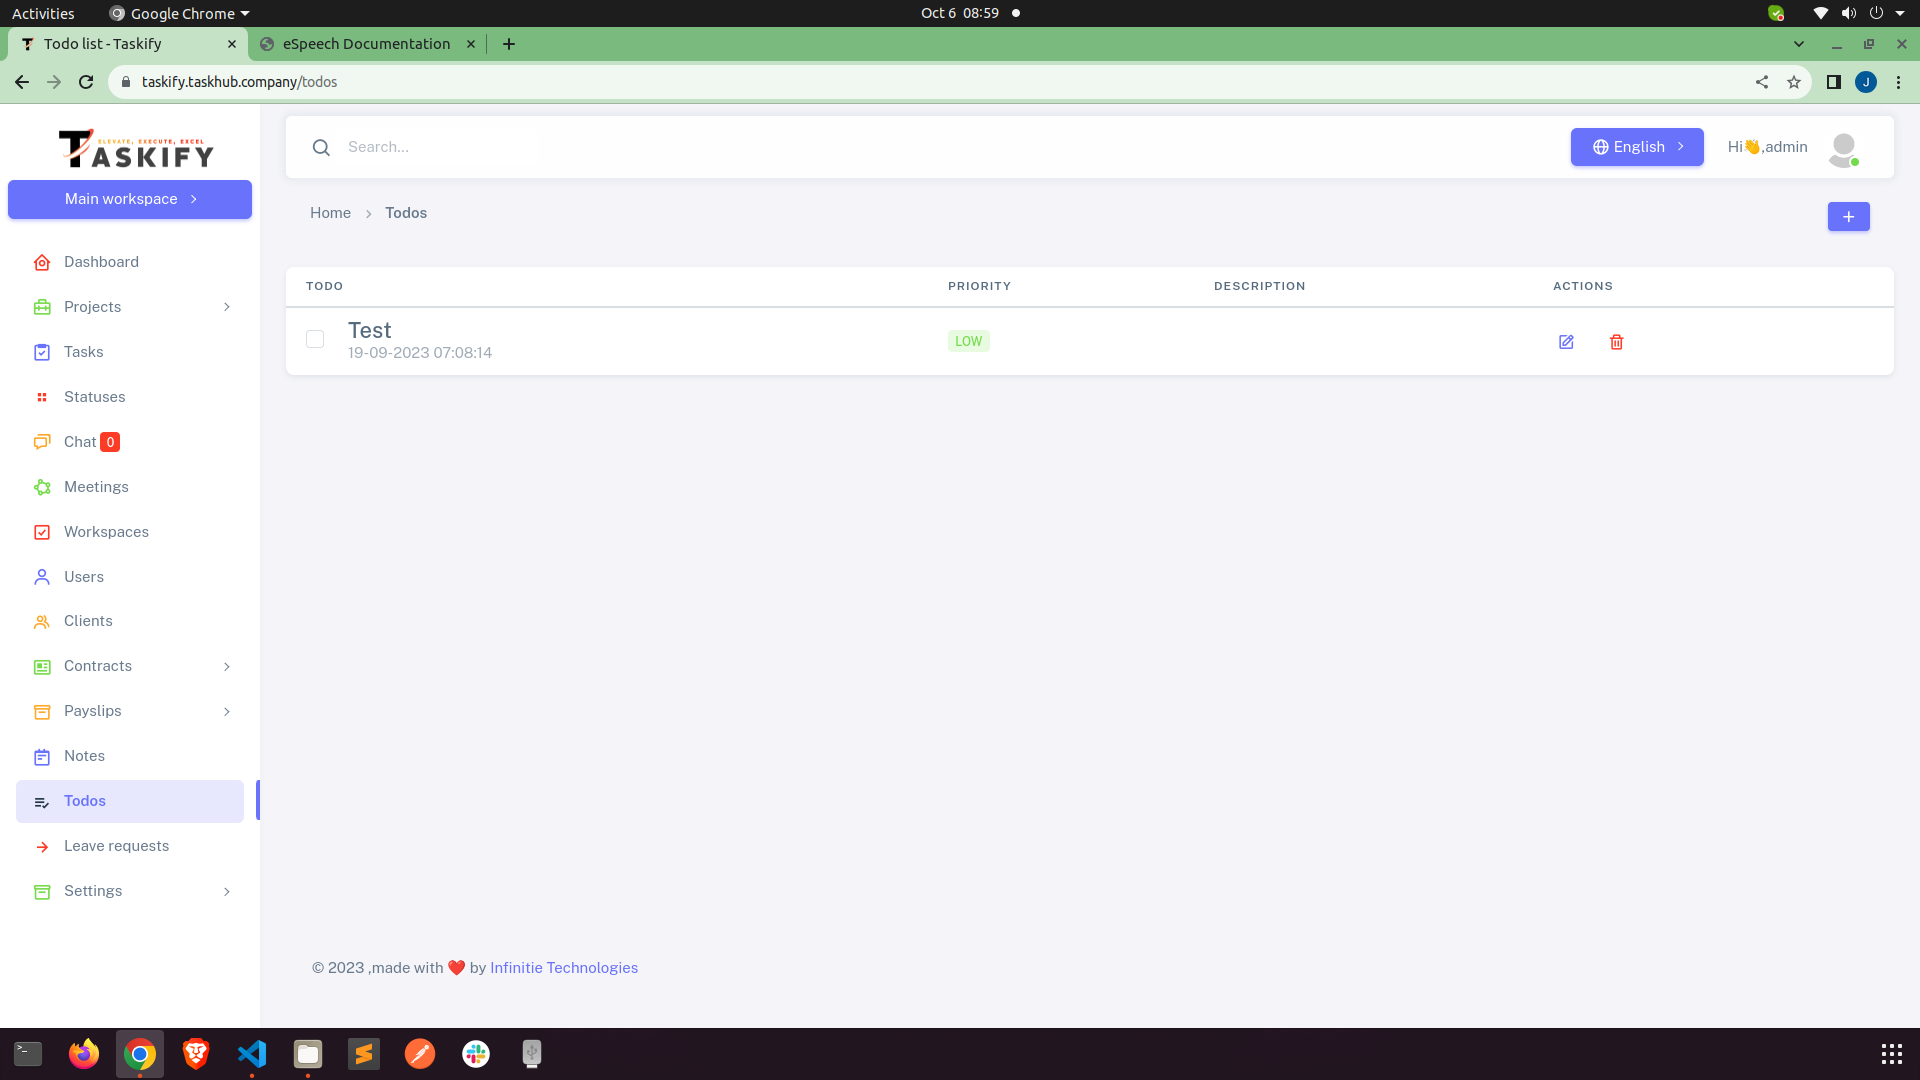
Todos
You can add, update, delete check and uncheck your todos.
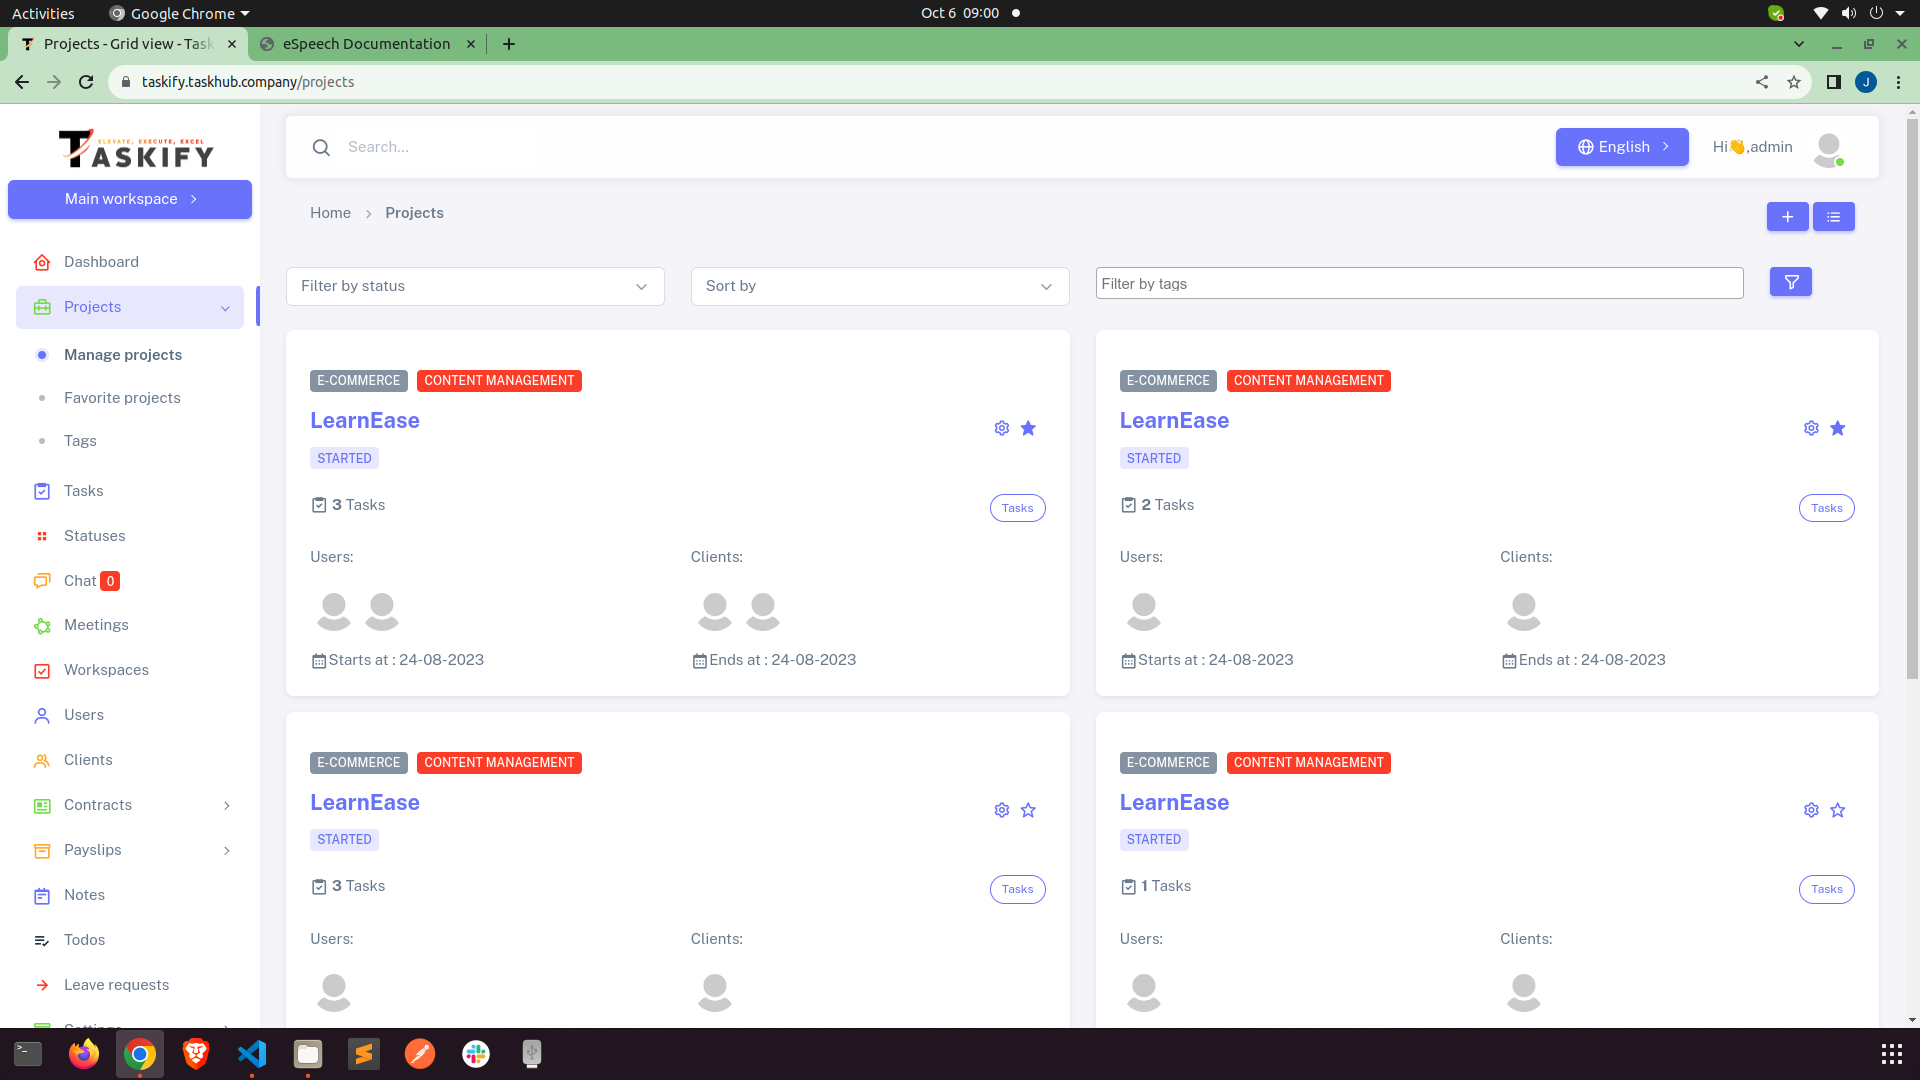
Manage Projects
All the project will be listed here. You can create, update and delete project from here.
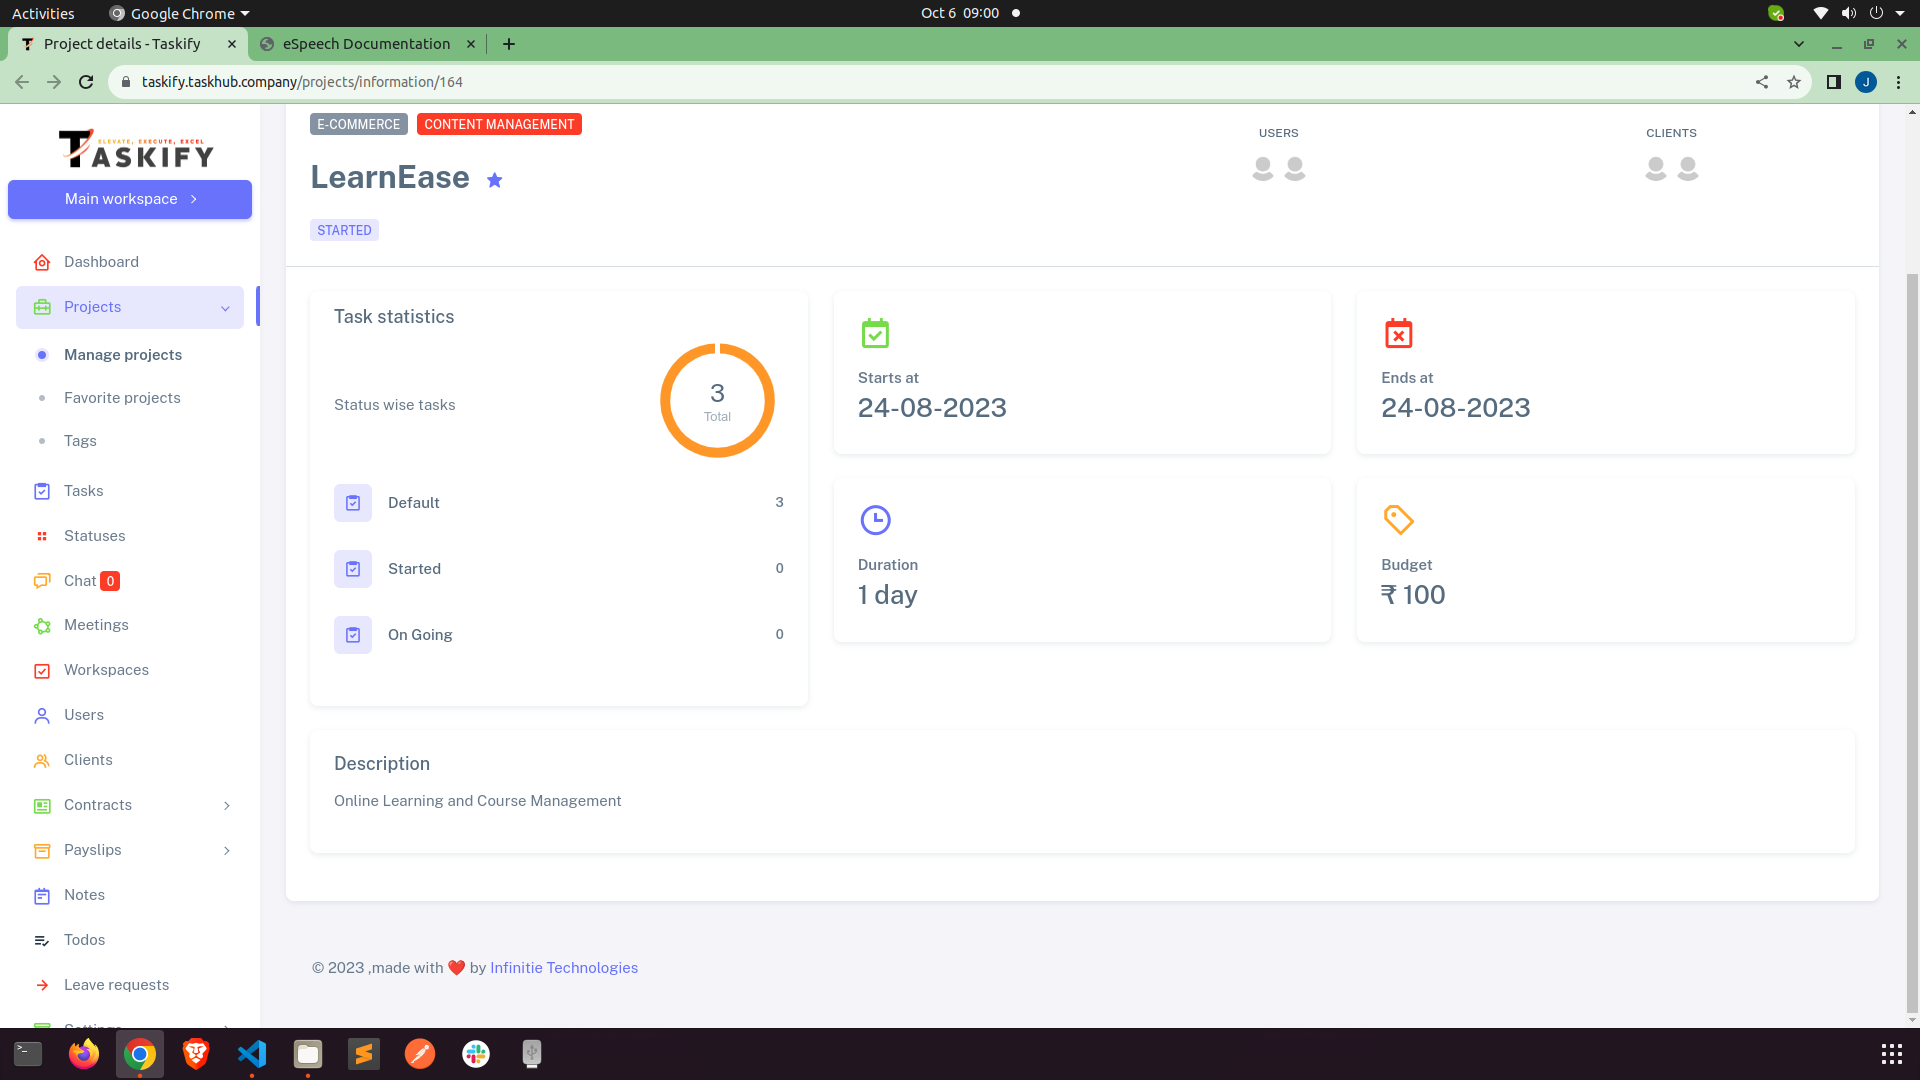
Details page of project all the details about that specific project will be shown here. On
this
page you can create milestones, tasks for project and also upload files related to the
projects.
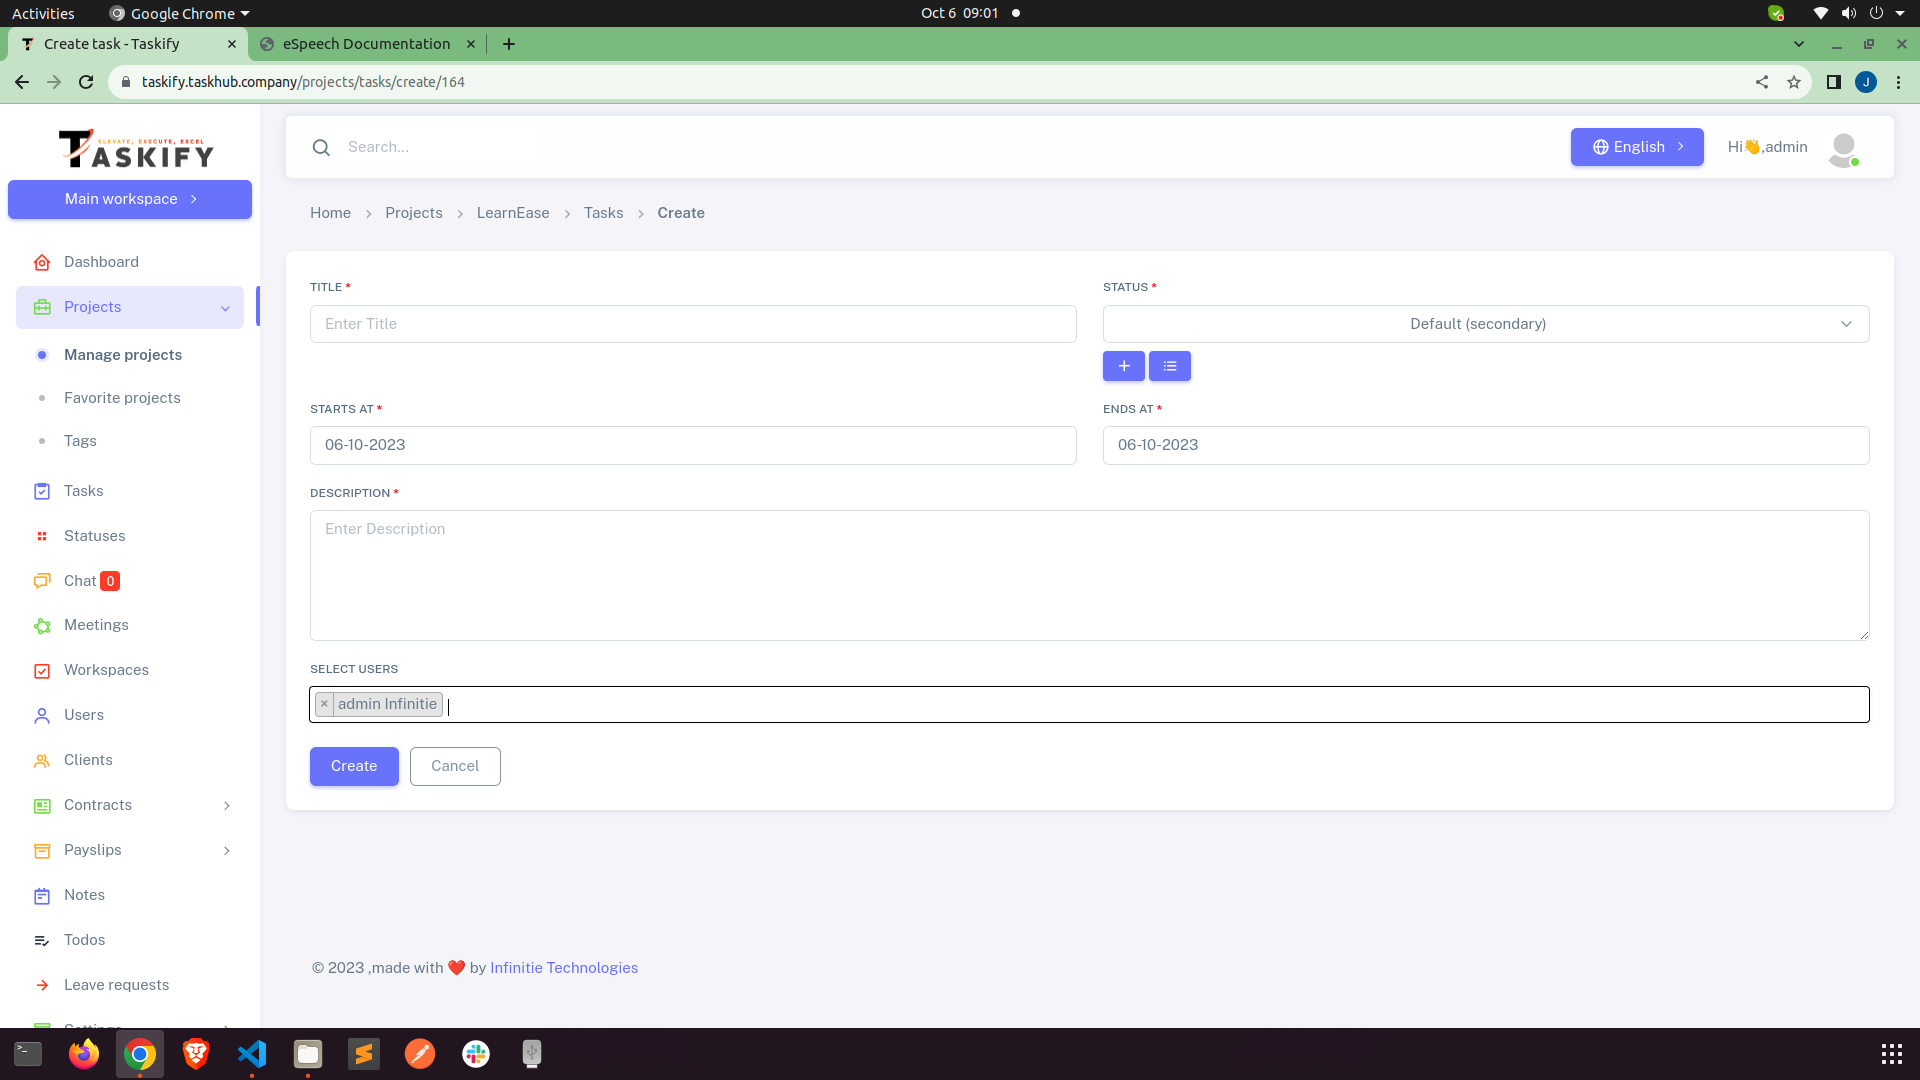
This is the page where you can create, update, delete tasks of the project and assing them to
any
user. You and user can drag and drop task in the process queue.
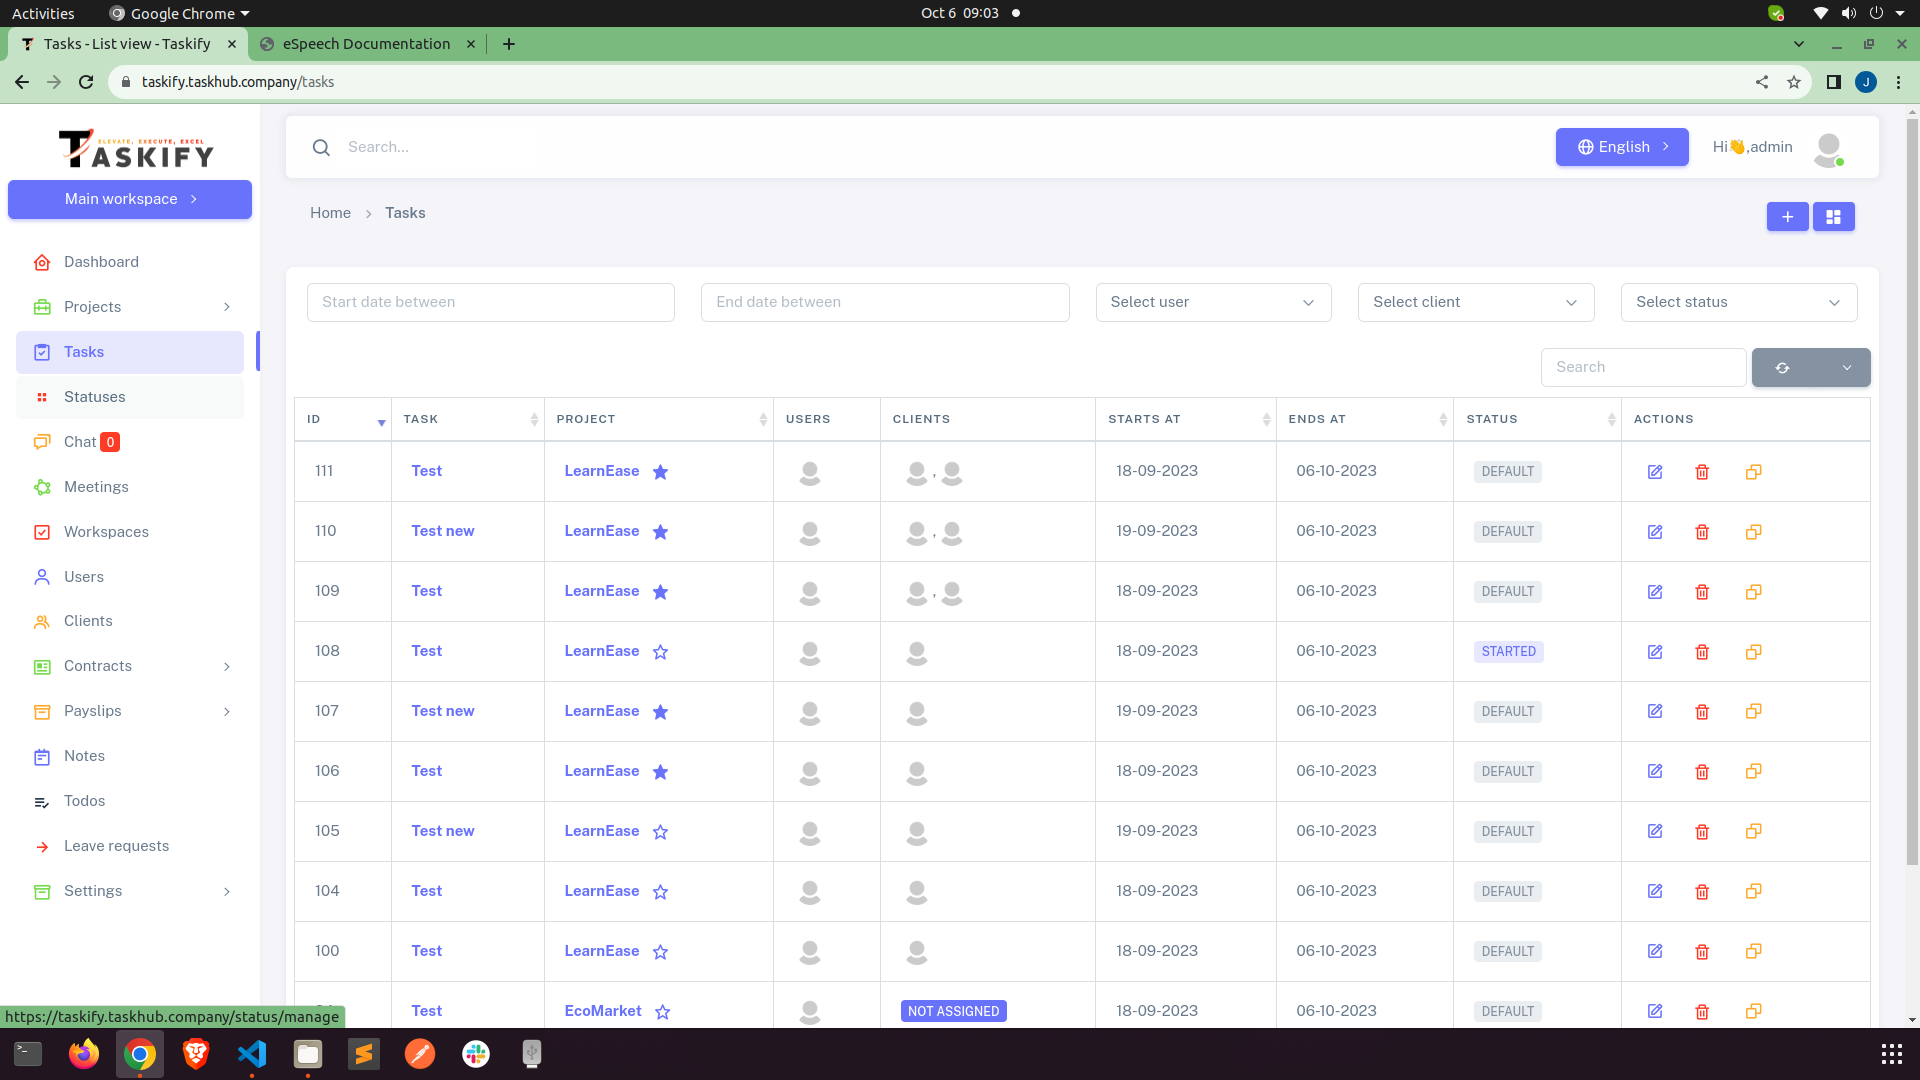
Tasks
You can view add, update and delete your project tasks.
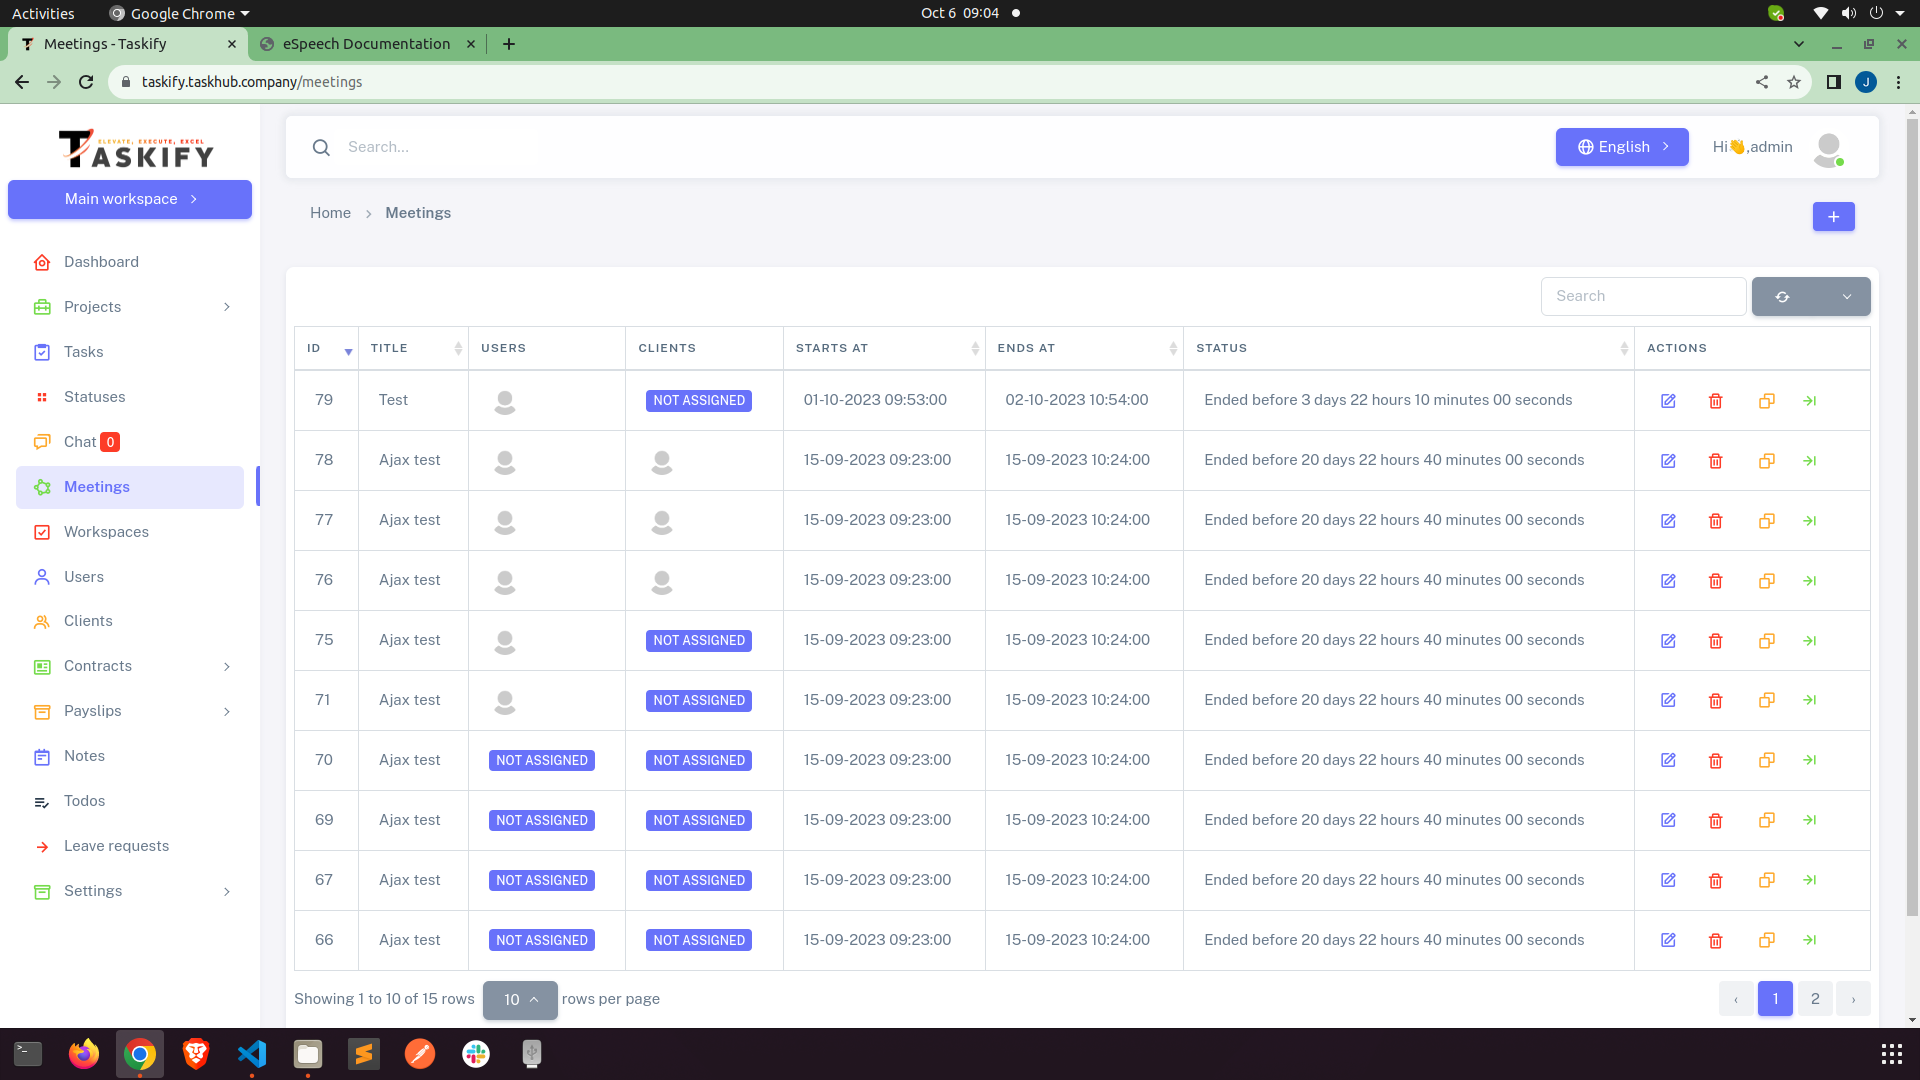
Meetings
You can view add, update and delete Meetings with your clients and team members for join
meetings.
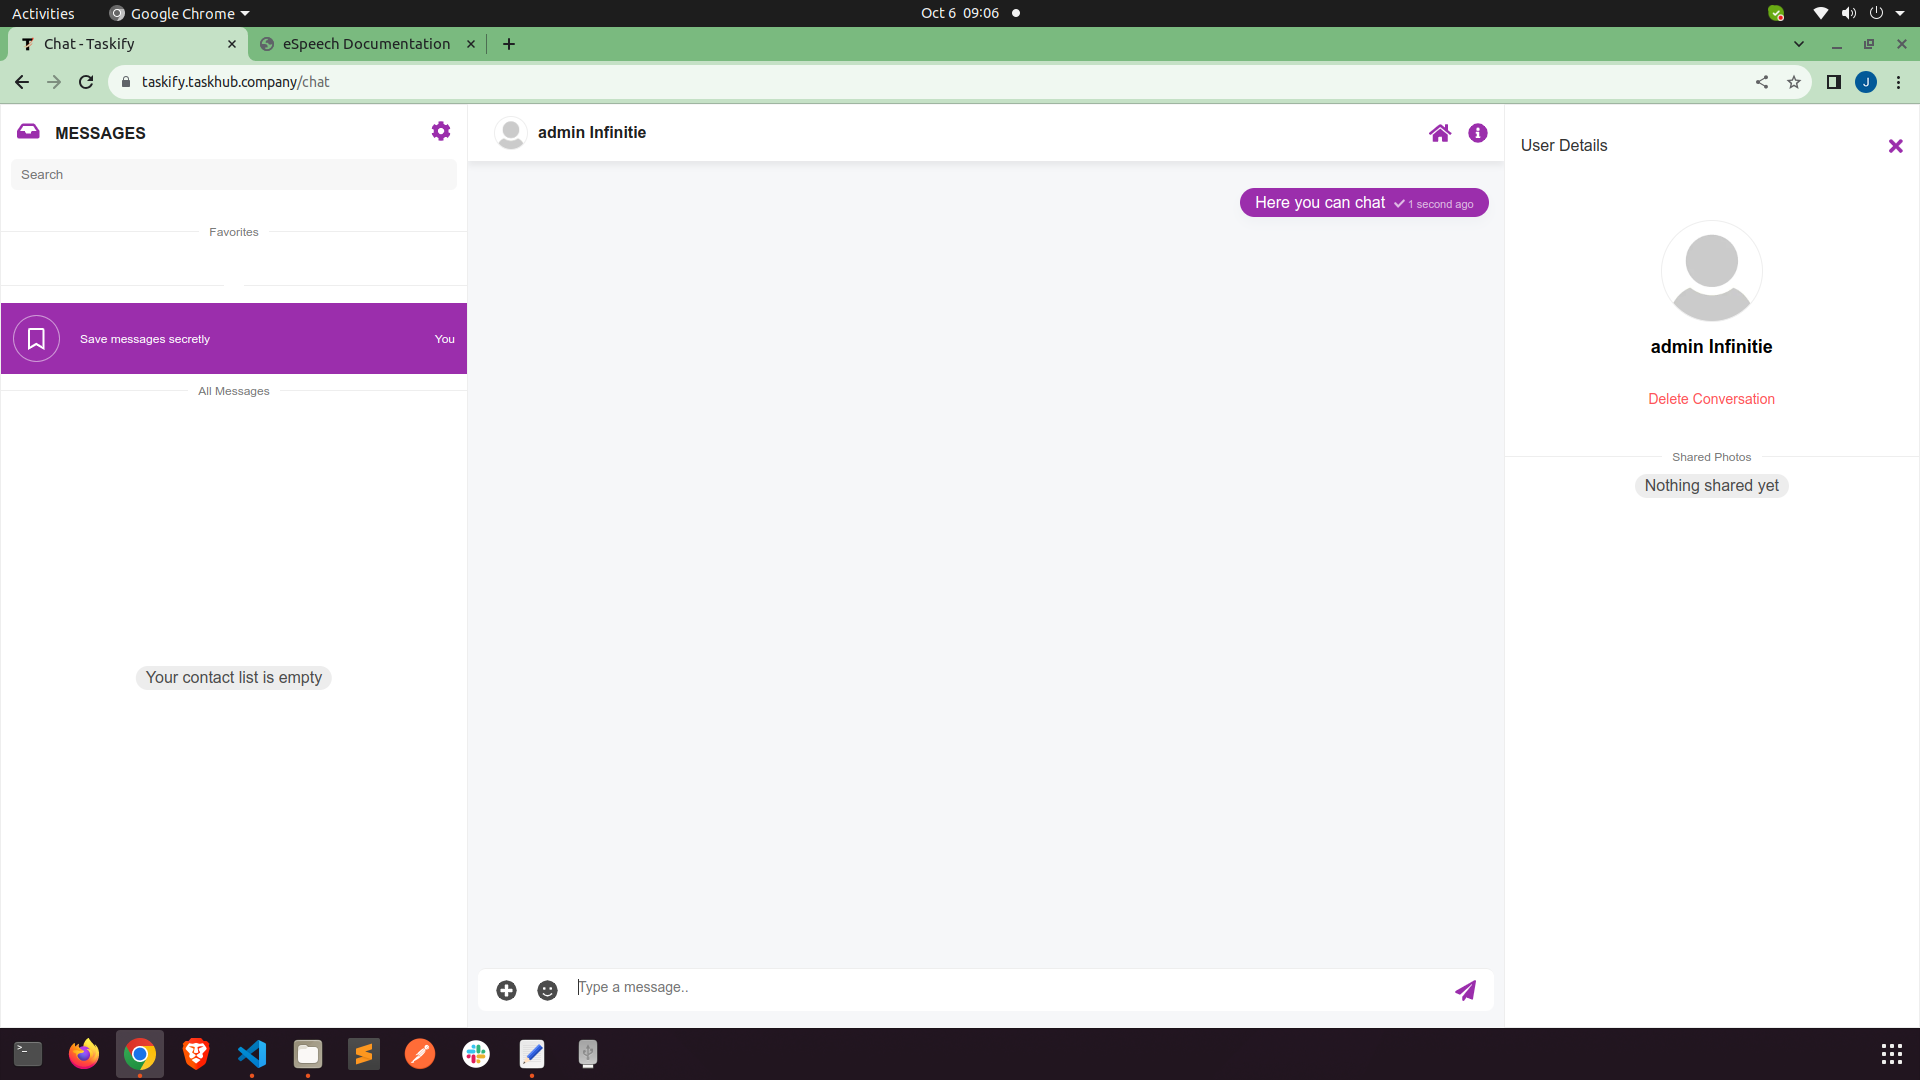
Chat
Here you can communicate with your workspace memebers. This chat system only works if Web
FCM
settings is saved. All the users of your workspace will be listed here. Also you can create
groups
Manage Users
Here you can Add, View, Edit & Delete users from worspace.
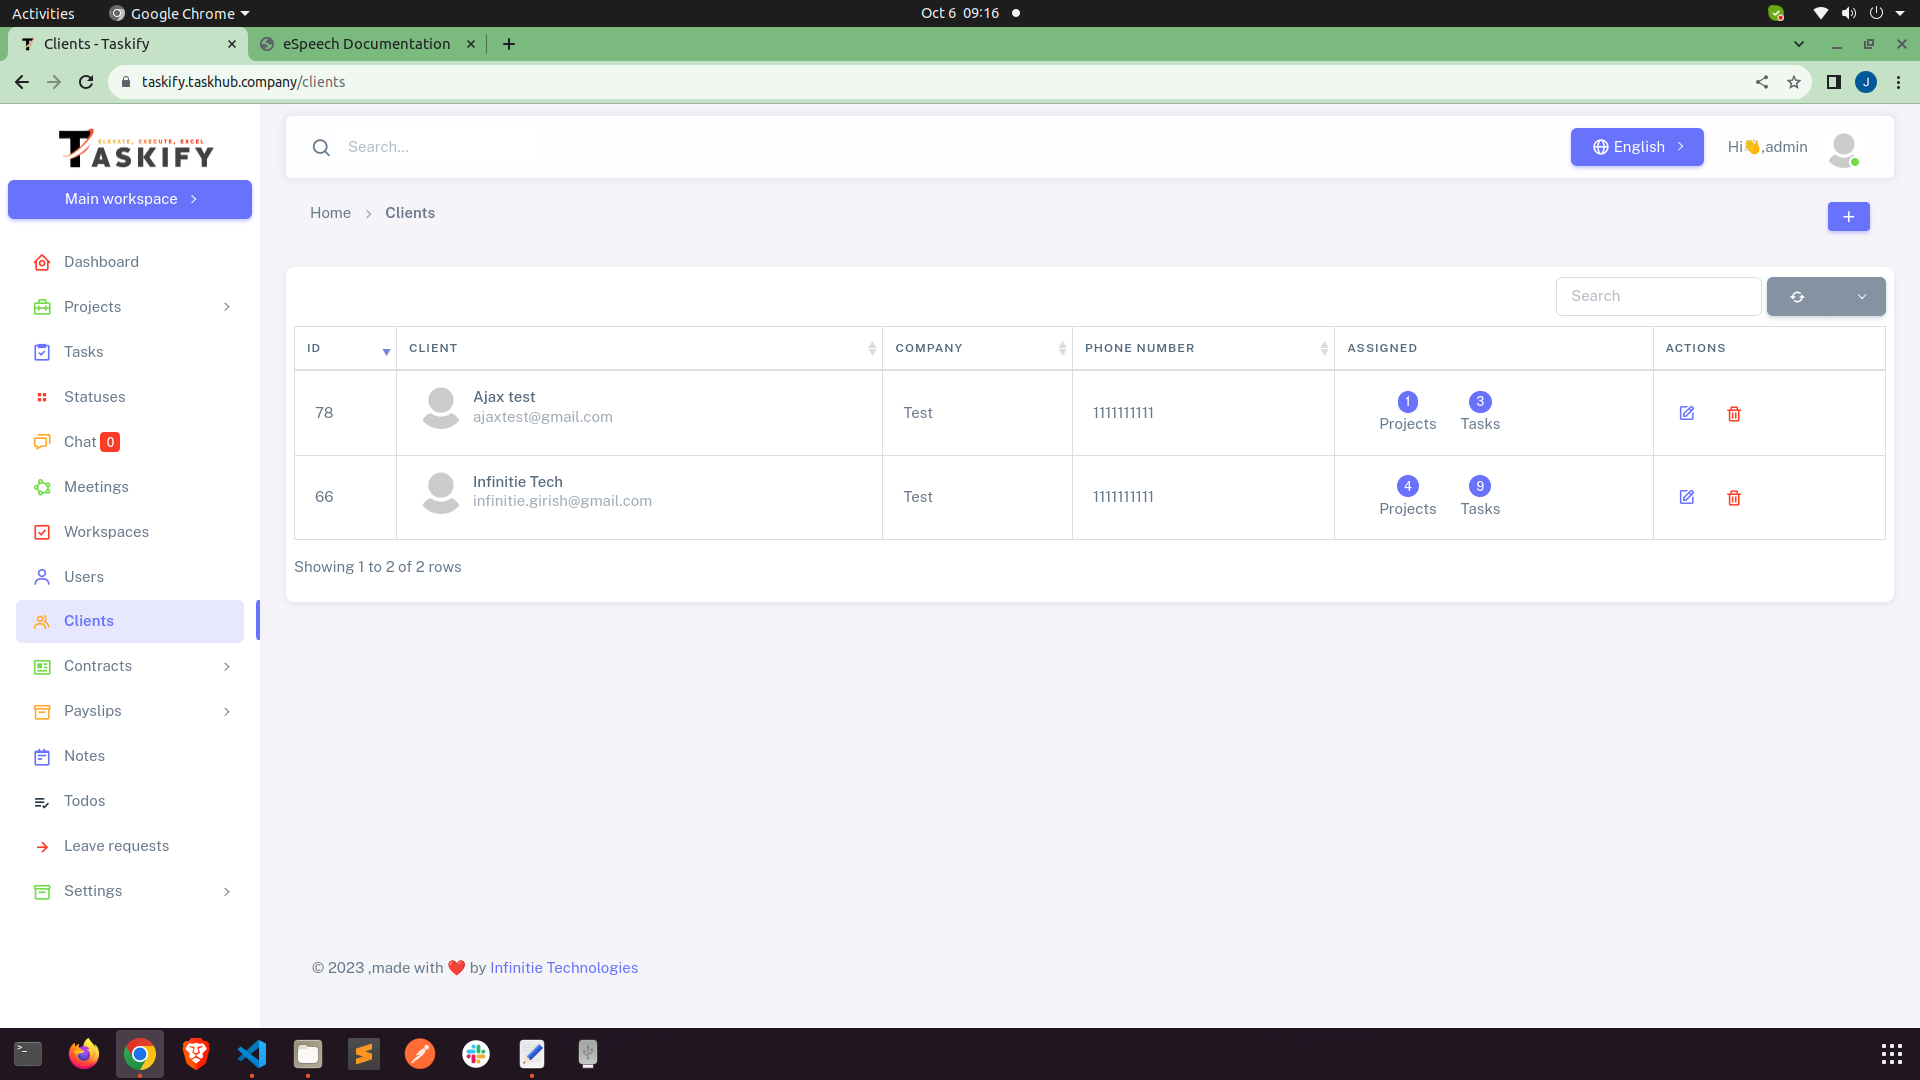
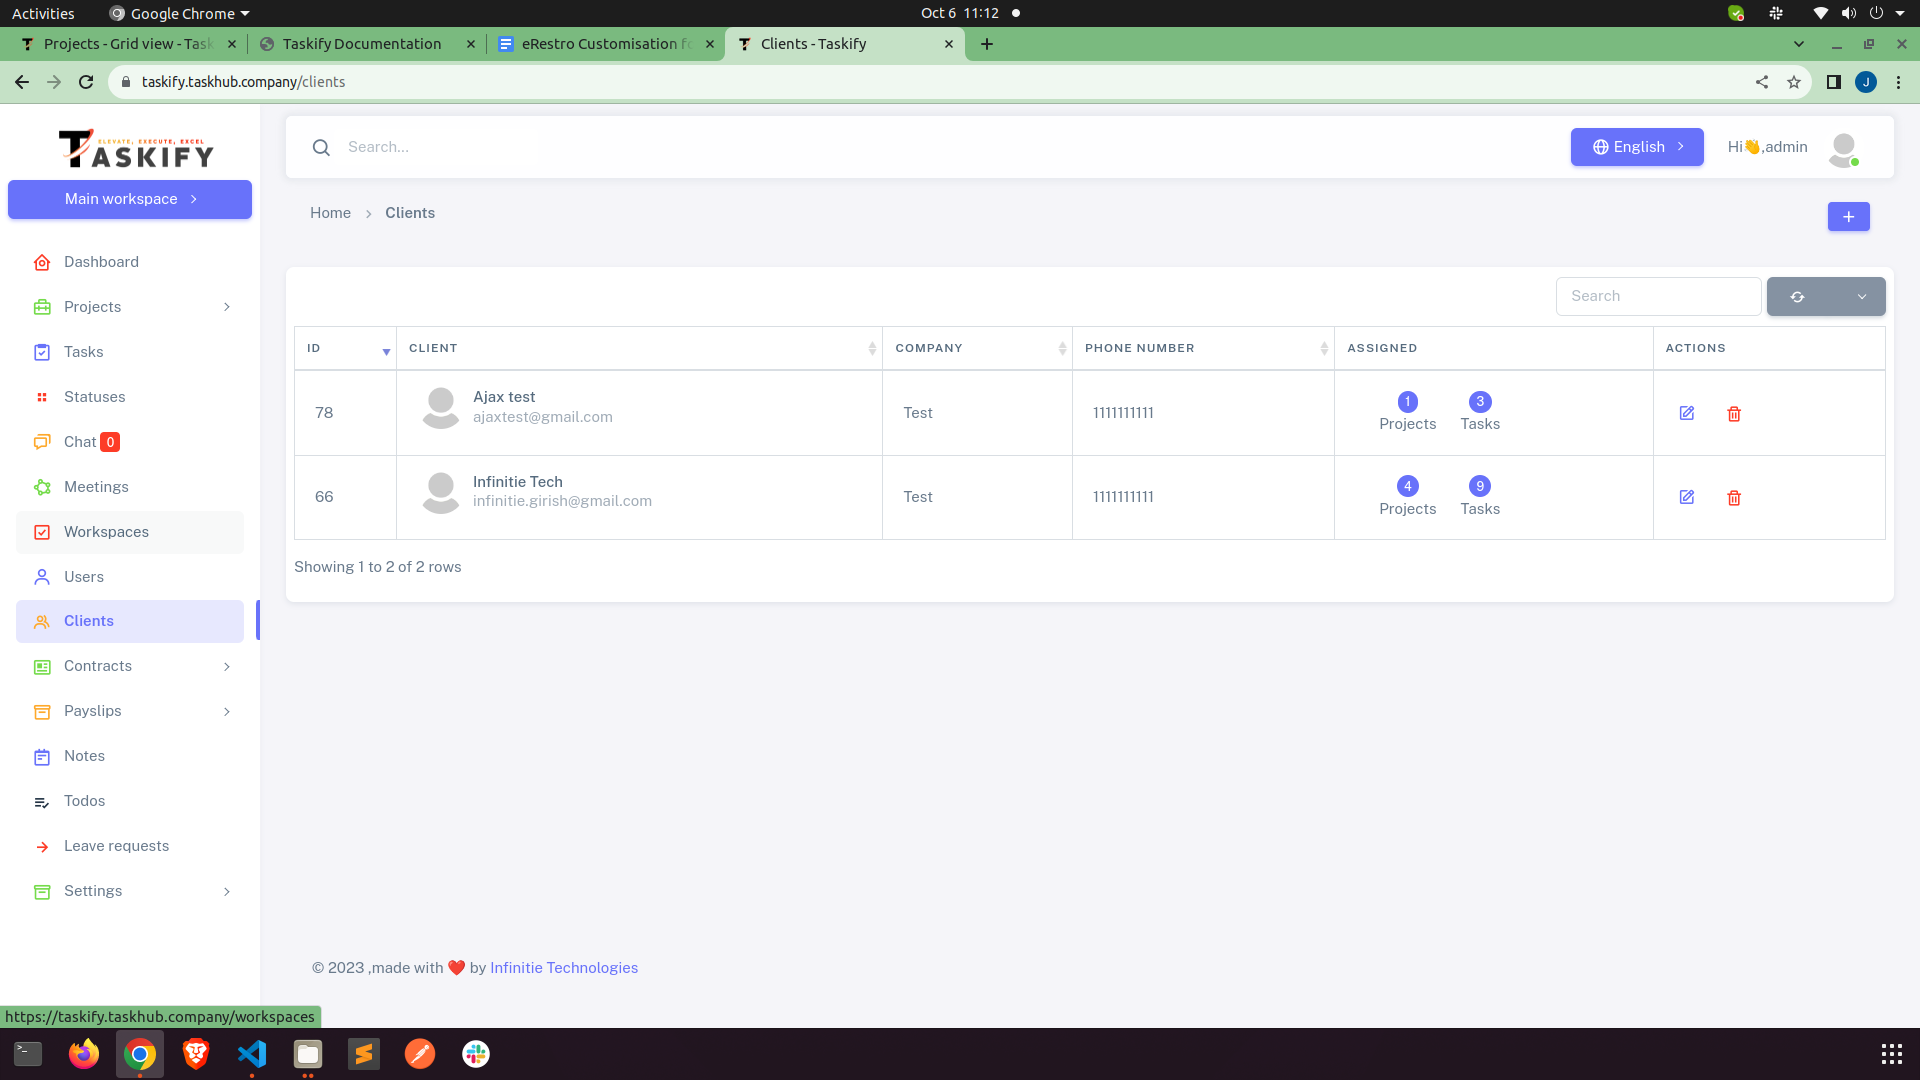
clients
Here you can Add, View, Edit & Delete Clients from worspace.
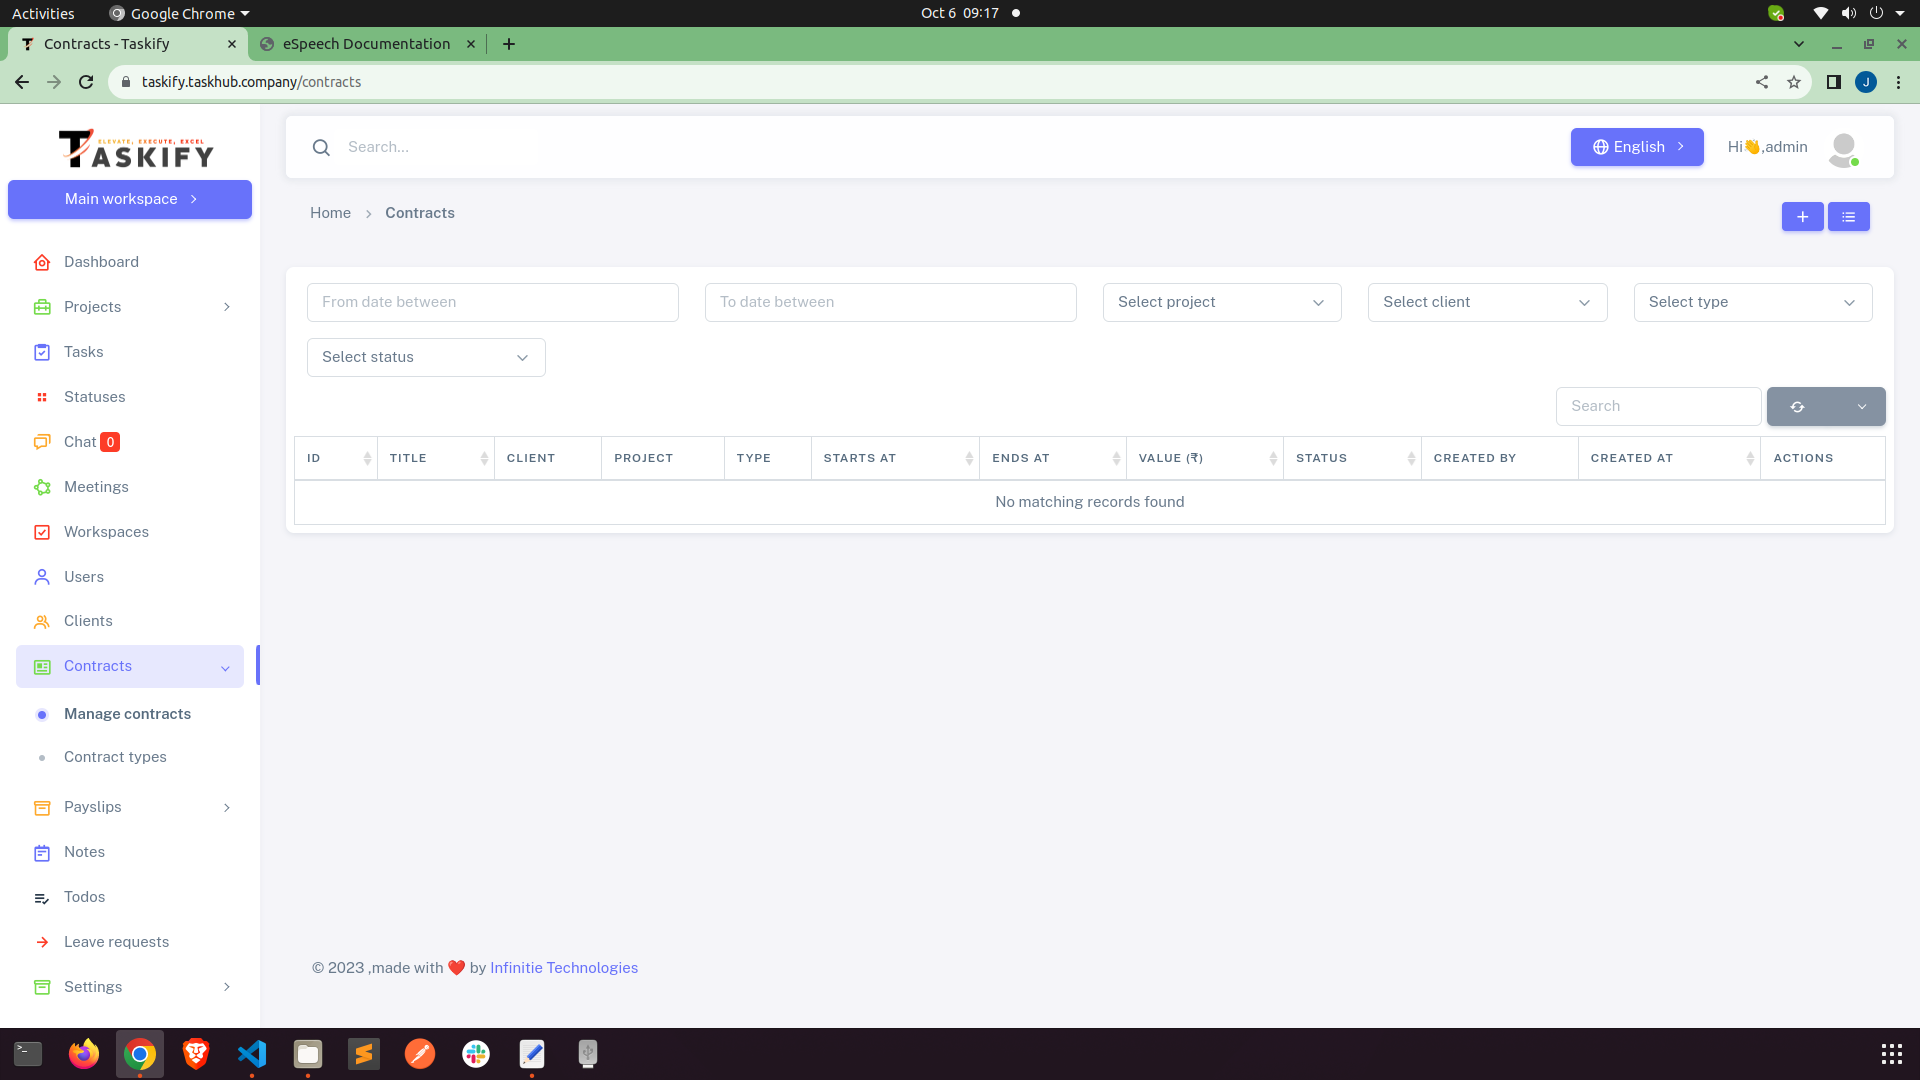
Contracts
Here you can Add, View, Edit & Delete Contracts from worspace.
Payslips
Here you can Add, View, Edit & Delete payslips, payment methods, allowances and deductions
for worspace.
Leave Requests
Here admin and manage leave requests coming from workspace users.
Manage Notes
This is the place where you can leave you notes for yourself. You can add, update, delete
your
notes.